

Kids Bike Bottle Cage Fit: Check Mounts and the Whole Pedal Path
Kids bike bottle cage fit involves both the empty holder and the bottle the family plans to carry. A cage that attaches to a frame may still make the bottle difficult to remove or place it in the rider’s way. Start with the bicycle maker’s accessory guidance and actual mounting arrangement. Do not treat an unexplained threaded hole or a clamp advertised as universal as approval.
Establish kids bike bottle cage fit at the mounting point
Identify whether the exact bicycle has approved bottle-cage mounts and what hardware the instructions require. A hole belonging to another fitting should not be repurposed by guesswork. If the supplier offers a clamp-on system, confirm both bicycle and accessory compatibility. Do not drill the frame or tighten a band around a cable to create an attachment. Ask for missing mounting information before buying.
Check the actual bottle’s removal space
A small frame can have little room above or beside the holder. Measure and compare the proposed bottle and cage together rather than choosing only by bottle volume. Include the movement required to insert and remove it through the accessory instructions. A bottle that needs the cage forced sideways or an attachment loosened at every stop is not a satisfactory match.
Assess rider and component clearance while stationary
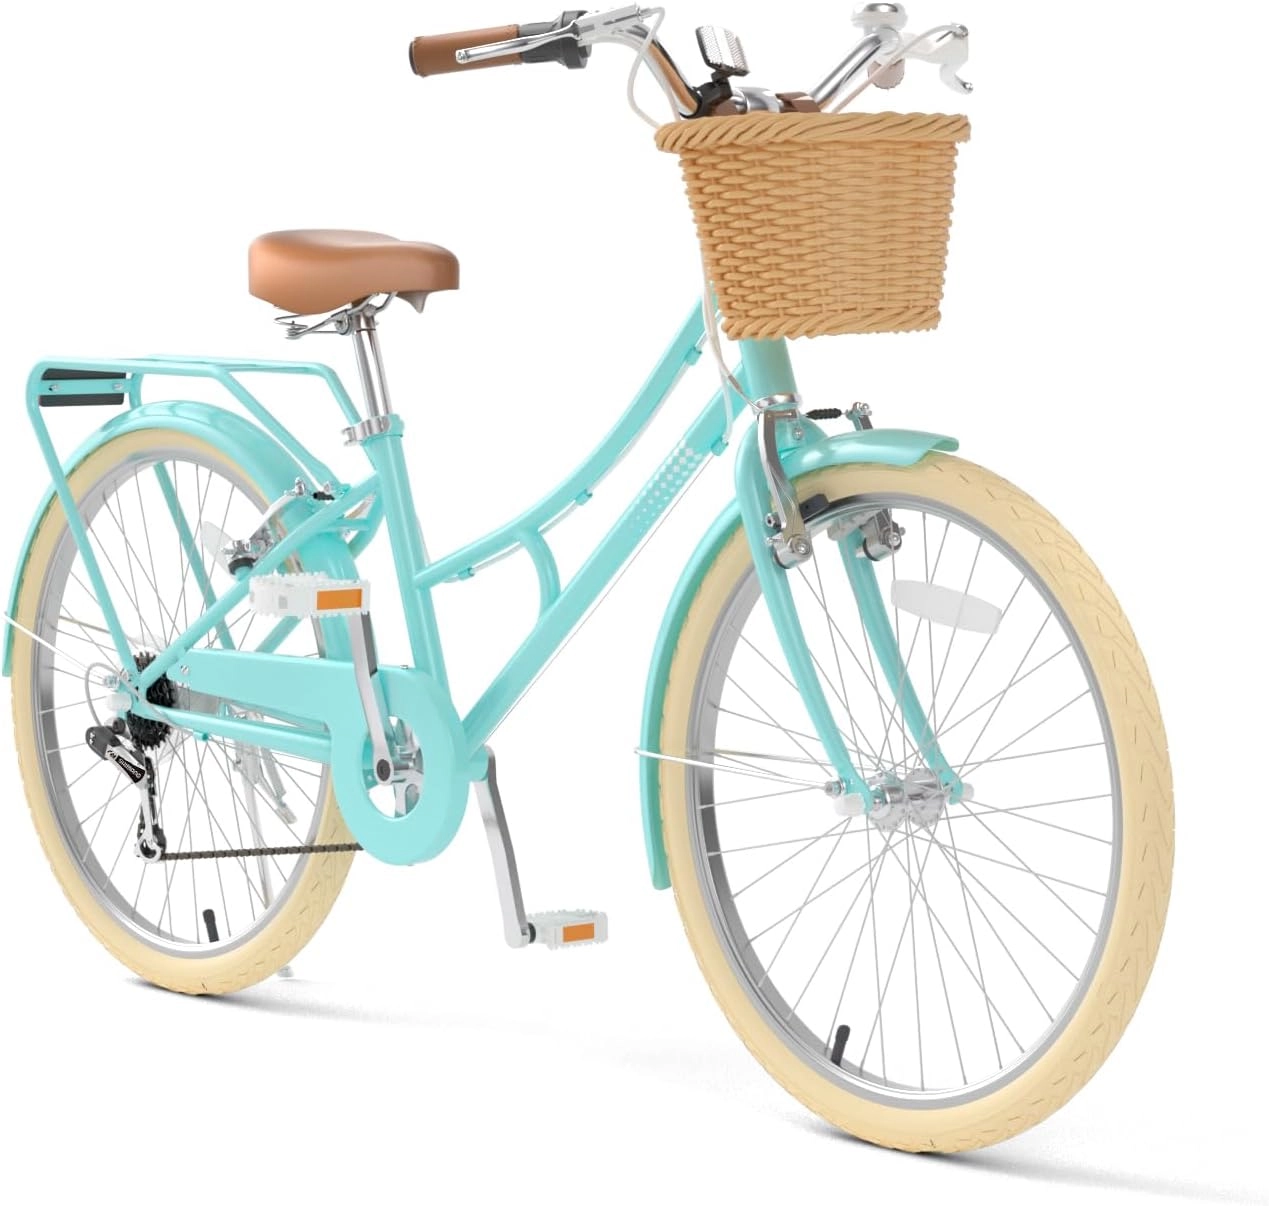
With the bicycle supported and a responsible adult managing the check, consider knees, shoes, cranks and normal mounting movements. Turn the steering through its intended range and check nearby cables. Keep hands away from moving parts. The Mint Green cruiser’s different wheel-size options do not establish identical frame space, so do not transfer a cage fit from one selected size to another.
Confirm retention without improvising extra restraints
Use the intended bottle shape and the cage’s normal securing arrangement. A loosely fitting container should not be made into a riding setup with dangling string, an elastic cord or a strap routed near a wheel. Follow all accessory and bicycle load restrictions; no capacity is supplied by this guide. Keep any fitted cage secure without using an invented bolt length or tightening value.
Plan drinking as a stopped activity for the learner
A correctly mounted bottle does not mean a child is ready to retrieve it while riding. Begin by stopping in a suitable clear place, getting stable and using the bottle there. An adult can manage carrying when no approved bicycle arrangement fits. Recheck the attachment after transport or an impact, and remove an unsuitable accessory only through its instructions before the bicycle returns to ordinary use.
Model details relevant to this task
The linked geared cruiser offers 20-, 24- and 26-inch choices with a rear rack. Neither its rack nor its photograph confirms bottle-cage bosses, a universal clamp location or a permitted bottle load. Obtain the selected frame’s actual accessory guidance. The linked model details are available for XJD Beach Cruiser Bike with Rear Rack & V-Brake – Mint Green.
Quick checklist
- Identify approved mounts.
- Check the bottle and cage together.
- Include knee and crank clearance.
- Verify normal bottle retention.
- Stop before drinking.
Common questions
Does a rack prove the frame accepts any cage?
No. Rack and bottle-cage attachments are separate compatibility questions.
Can a household cord secure a loose bottle?
Do not add an improvised restraint near moving parts. Use a compatible approved arrangement or another carrying plan.
Does the same cage fit every wheel-size option?
Not necessarily. Check the actual frame and bottle-removal space for the selected bicycle.
Related collections
The cruiser bicycle configurations and family bicycle choices provide further model details. Check the exact selected configuration when planning fit, handling and care.
Before the next outing
Decide kids bike bottle cage fit before fitting hardware. An approved mount, usable bottle space and clear riding movements matter together.