

From Balance Bike to Pedals: The Transition Plan
Move from a balance bike to pedals when your child can glide, steer, stop, and stay composed; then choose a pedal bike by measured fit, not age.
Check readiness before changing bikes
The transition is mainly a coordination change. Your child already knows how to balance if they can push off, lift both feet, glide in a straight line, steer around a gentle curve, and stop intentionally. Look for those skills on several rides rather than one unusually good attempt.
Confidence matters too. A rider who can glide but becomes tense around pedals may need more balance-bike practice. Do not force the switch because of a birthday, another child’s progress, or a bike bought for future growth.
- Ready to try: controlled gliding, looking ahead, predictable steering, deliberate stopping, and willingness to practice.
- Wait and practice: feet stay down continuously, steering is abrupt, stopping requires an adult, or the child resists the new bike.
Measure before comparing wheel sizes
Measure your child’s standing height without shoes. Also measure inseam from the floor to the crotch while the child stands naturally. Height provides a starting range; inseam helps you assess whether the rider can stand over and stabilize the actual bicycle.
| Wheel size | XJD starting age | Rider height |
|---|---|---|
| 12 Inch | 3–4 | 34–40 in / 86–102 cm |
| 14 Inch | 3–6 | 37–45 in / 94–114 cm |
| 16 Inch | 4–7 | 40–48 in / 102–122 cm |
These overlapping ranges are comparison points, not automatic prescriptions. Begin with measured height, then have the child try the exact bicycle. Age alone cannot establish fit, and a larger wheel is not a substitute for comfortable control.
Use a hands-on fit check
Have the child stand over the bicycle and confirm they can stabilize it confidently. Seated, they should be able to reach the handlebar without stretching, turning their body, or locking their arms. Ask them to steer each way while remaining centered.
Check whether they can reach and operate the bicycle’s brakes as designed. They should understand how the bike stops and demonstrate control before riding independently. If stand-over clearance, reach, or brake operation is uncertain, compare another size or consult a qualified bicycle mechanic. Never select an oversized bicycle merely to leave room for growth.
Choose a supported or direct transition
A direct transition works well for a confident glider on a correctly fitted pedal bike. In a flat, open, traffic-free practice area, let the child become familiar with the pedals and braking system. Support the child lightly at the torso if requested, without steering the bicycle for them. Short attempts preserve attention and confidence.
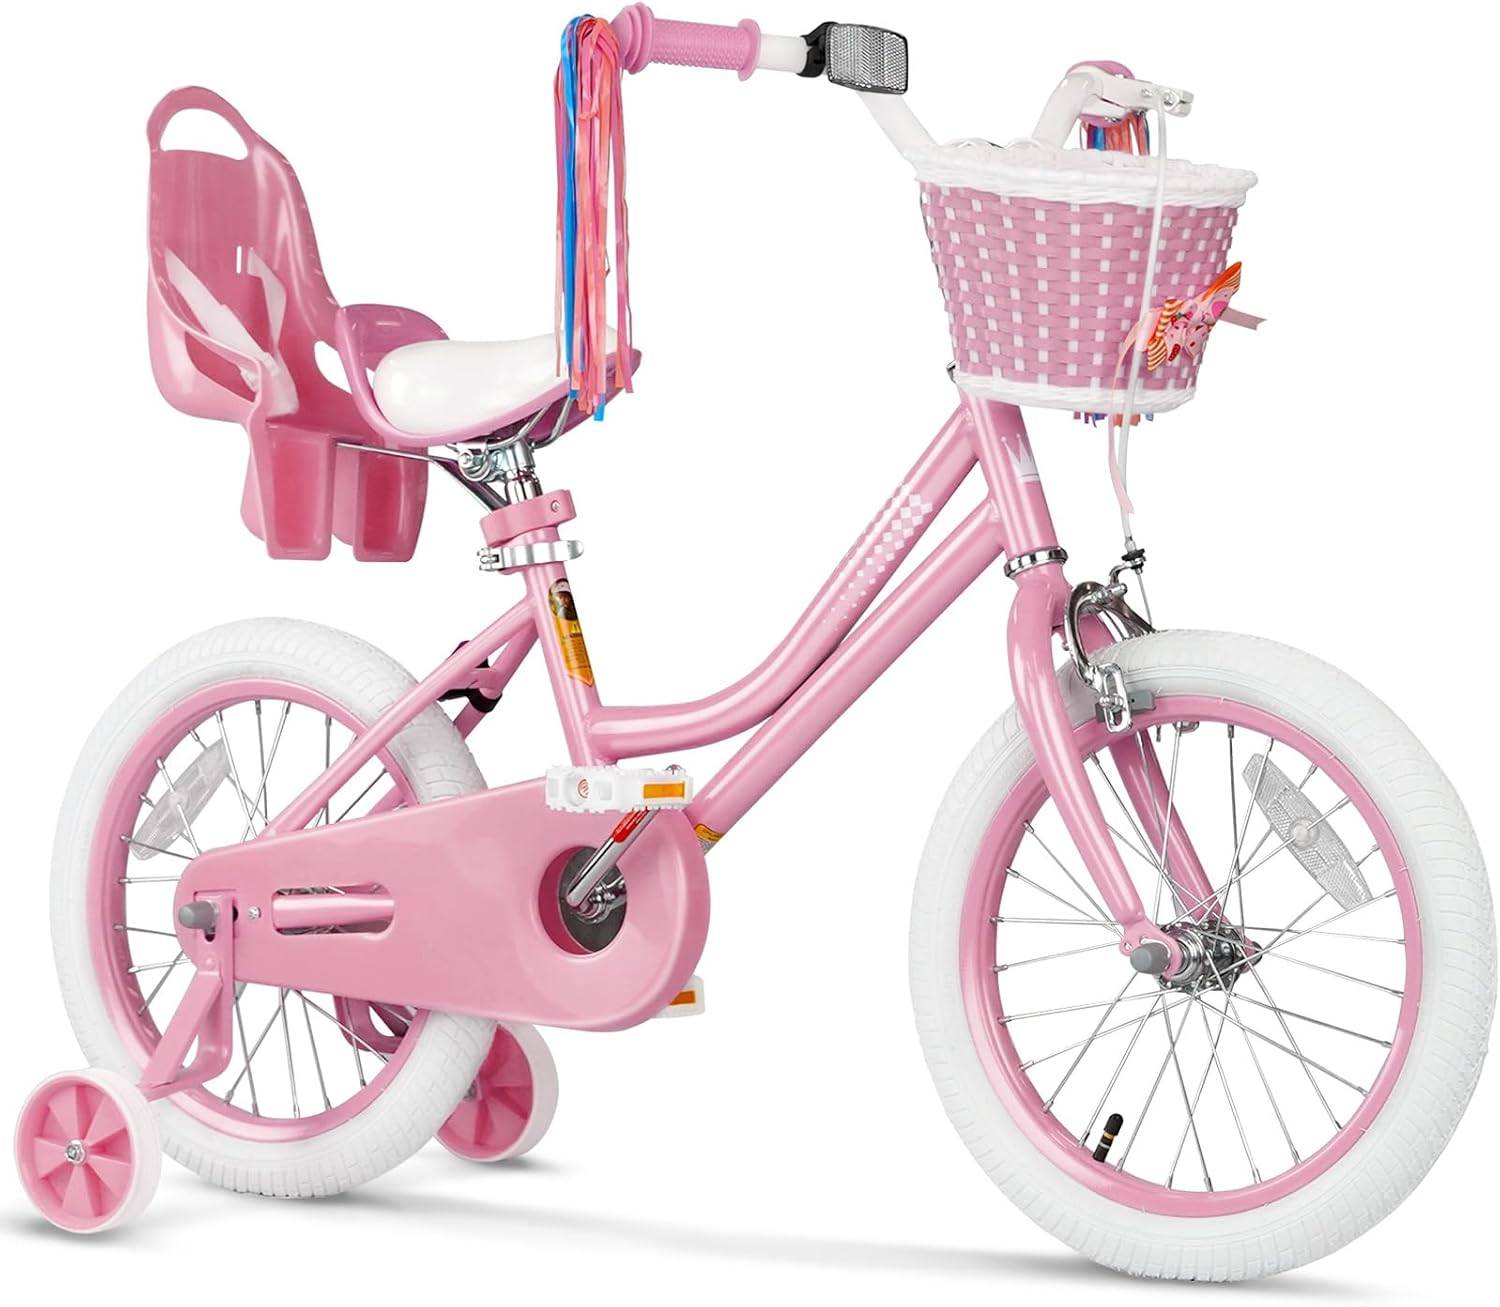
Training wheels may be relevant when a child is not yet comfortable coordinating pedaling with the new bicycle, but they should not replace the fit and control checks above. The supplied catalog option, XJD Girls Bike Pink, is categorized as a Training Wheel Bike and is offered with 12 Inch, 14 Inch, and 16 Inch SKU labels. Those three sizes let parents compare the applicable starting ranges, while the child’s actual height, inseam, reach, brake control, and confidence decide whether any option fits.
Follow a simple practice sequence
- Learn the controls: while stationary, identify the brakes and practice getting on and off without an adult holding the handlebar.
- Start and stop: practice placing a pedal in a useful starting position, pushing off, and stopping on command.
- Pedal briefly: aim for a few controlled revolutions toward a visible marker rather than a long ride.
- Add steering: use wide turns and generous spacing before introducing tighter paths.
- Increase independence: reduce physical support only when the child remains relaxed and can stop reliably.
Return to balance-bike gliding between pedal sessions if steering or balance deteriorates. That is useful skill practice, not a failed transition. If training wheels are used, follow the exact product manual for assembly, adjustment, compatibility, maintenance, and removal; use a qualified bicycle mechanic when instructions or setup are unclear.
Prepare for the first independent ride
Use a bicycle helmet that fits properly, sits level, and has its straps adjusted according to the helmet manufacturer’s instructions. Choose a level area away from traffic, slopes, obstacles, and crowded paths. An adult should stay close enough to intervene while leaving the rider room to control the bike.
Move forward when your child can start with minimal help, look where they are going, steer a planned path, and stop on command without panic. Pause when fatigue, repeated loss of control, poor brake reach, or fear appears. The next step is specific: measure height and inseam, shortlist the matching wheel-size range, perform an in-person control check, and begin with short start-stop sessions only after the bicycle fits.
Bikes for your next adventure
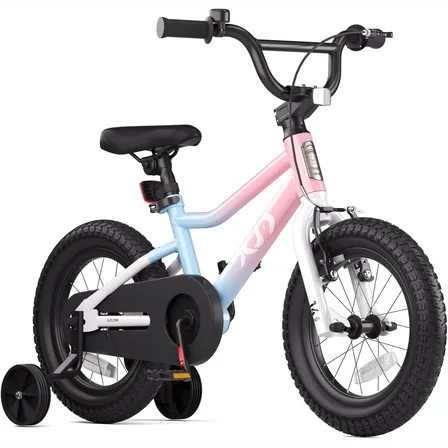
XJD Kids BMX Bike with Training Wheels – Pink Blue
8 reviews
XJD Kids BMX Bike with Training Wheels – Pink Blue brings the recorded fit, ridi…$99.99
$119.99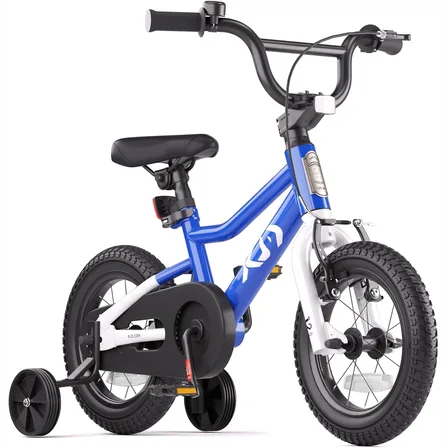
XJD Kids BMX Bike with Training Wheels – Blue
8 reviews
XJD Kids BMX Bike with Training Wheels – Blue brings the recorded fit, riding an…$99.99
$119.99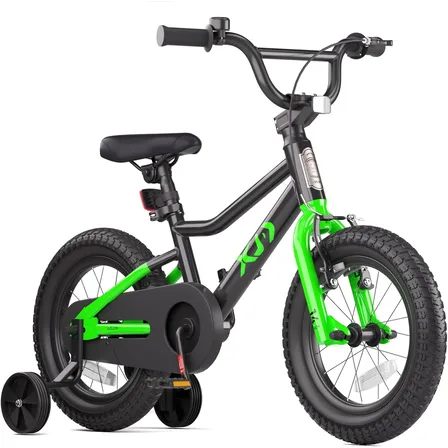
XJD Kids BMX Bike with Training Wheels – Black
XJD Kids BMX Bike with Training Wheels – Black brings the recorded fit, riding a…$99.99
$119.99