

Kids Bike Front Brake vs Rear Brake: Which First?
The kids bike front brake vs rear brake question often sounds as if a child should always choose one first. In practice, bicycle configurations differ, and effective stopping comes from knowing which control operates which brake, applying force smoothly and keeping body and steering stable. Parents should follow the bicycle manual and teach both brakes in a protected area rather than relying on a universal lever rule.
Identify every brake on the actual bike
With the bicycle stationary, show the child whether each hand lever operates the front or rear brake and whether a coaster brake activates by back-pedaling. Labels, lever sides and combinations can differ by market and model. An adult should test each system before the lesson and confirm the lever does not touch the grip before useful braking begins.
Explain why smooth input matters
A sudden front-brake grab can shift weight forward, while rear-only braking may take longer or skid under some conditions. The goal is progressive, controlled use of the brakes supplied on that bicycle. Have the child look ahead, keep both hands secure and squeeze or pedal smoothly. Do not teach panic stops on a hill, wet surface or near traffic.
Practice from walking speed
Mark a start line and generous stopping zone on dry, flat pavement. Begin with an adult walking beside the rider and call for a gentle stop. Repeat only when the child can keep the handlebar straight and put a foot down after stopping. Build speed gradually and change one skill at a time; turns, slopes and loose surfaces come later.
Adjust fit when control is difficult
Small hands must reach the levers without releasing the grips, and the child must reach a coaster-brake starting position without losing balance. Stiff action, excess lever travel, weak response or poor reach requires service or a better-fitting bike. Training wheels do not compensate for brakes the rider cannot operate.
How the current product examples fit
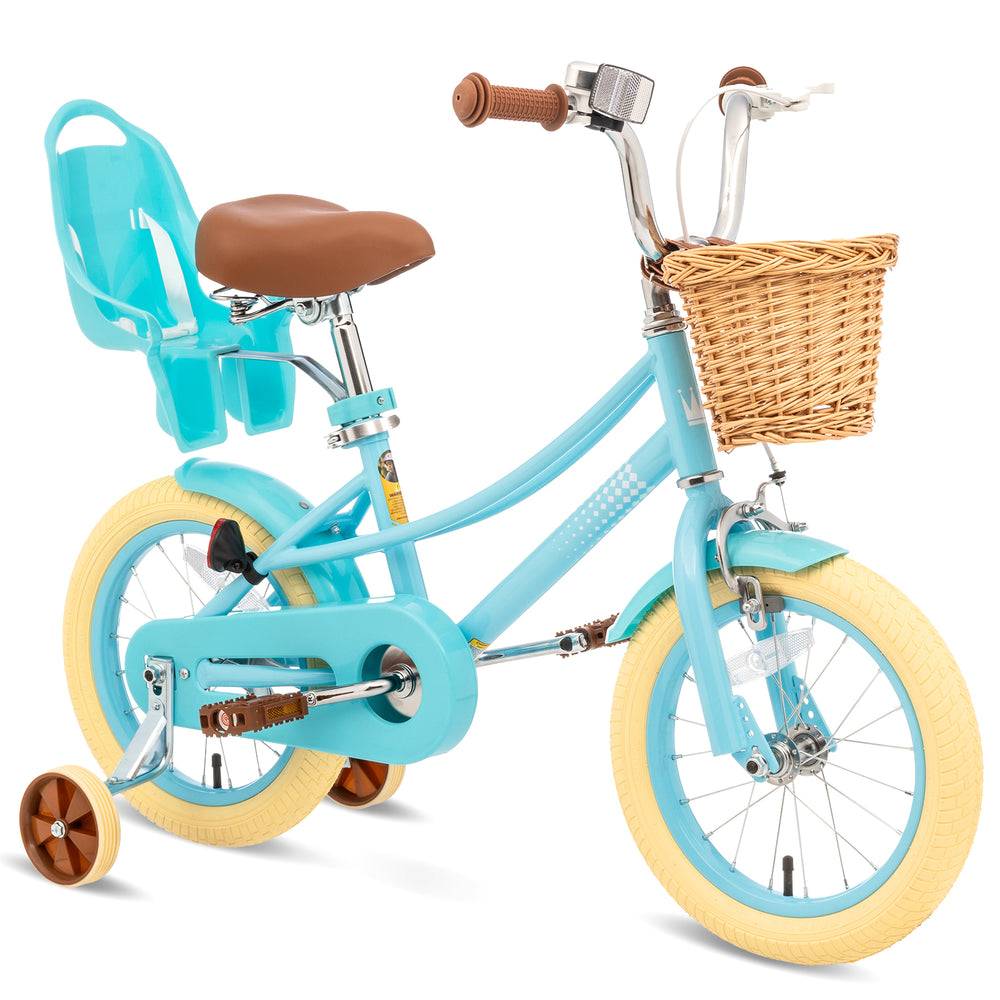
The current blue XJD kids bike appears in multiple wheel-size and configuration choices. Confirm the brakes on the exact selected option after assembly; product-family photos are not a substitute for a hands-on control check. See XJD Kids Bike Blue for the exact current options and specifications.
Quick checklist
- Map each control to its brake.
- Test lever travel before riding.
- Teach gradual, balanced input.
- Begin on dry level ground.
- Correct reach or stiffness problems first.
Common questions
Should a child use only the rear brake first?
No single rule fits every bicycle and situation. Begin by teaching the actual controls and smooth application according to the model guidance.
What if the child confuses the levers?
Return to stationary naming and walking-speed practice. Use clear repetition and do not progress until the response is consistent.
Explore related guides
Use the kids-bike collection and training-wheel-bike collection to compare other suitable configurations without assuming every model has the same features.
Bottom line
Reliable stopping comes from control recognition, good reach and calm practice with the complete braking system. Teach the child to modulate both available brakes rather than memorizing an oversimplified front-or-rear answer.
Bikes for your next adventure
XJD Kids Bike Blue
XJD Kids Bike Blue brings the recorded fit, riding and configuration details tog…$139
$159
XJD Kids Bike Purple
XJD Kids Bike Purple brings the recorded fit, riding and configuration details t…$139
$159
XJD Kids Bike Pink
XJD Kids Bike Pink brings the recorded fit, riding and configuration details tog…$139
$159