

Kids Bike Pedal Thread: Do Not Force a Difficult Installation
A kids bike pedal thread that does not engage easily is a reason to stop assembly, not apply more force. Pedals have side-specific connections and need the actual model's installation instructions. Identify the parts and the correct procedure before using tools. Do not turn a difficult connection into a child's trial ride to discover whether it holds.
Identify the kids bike pedal thread and side
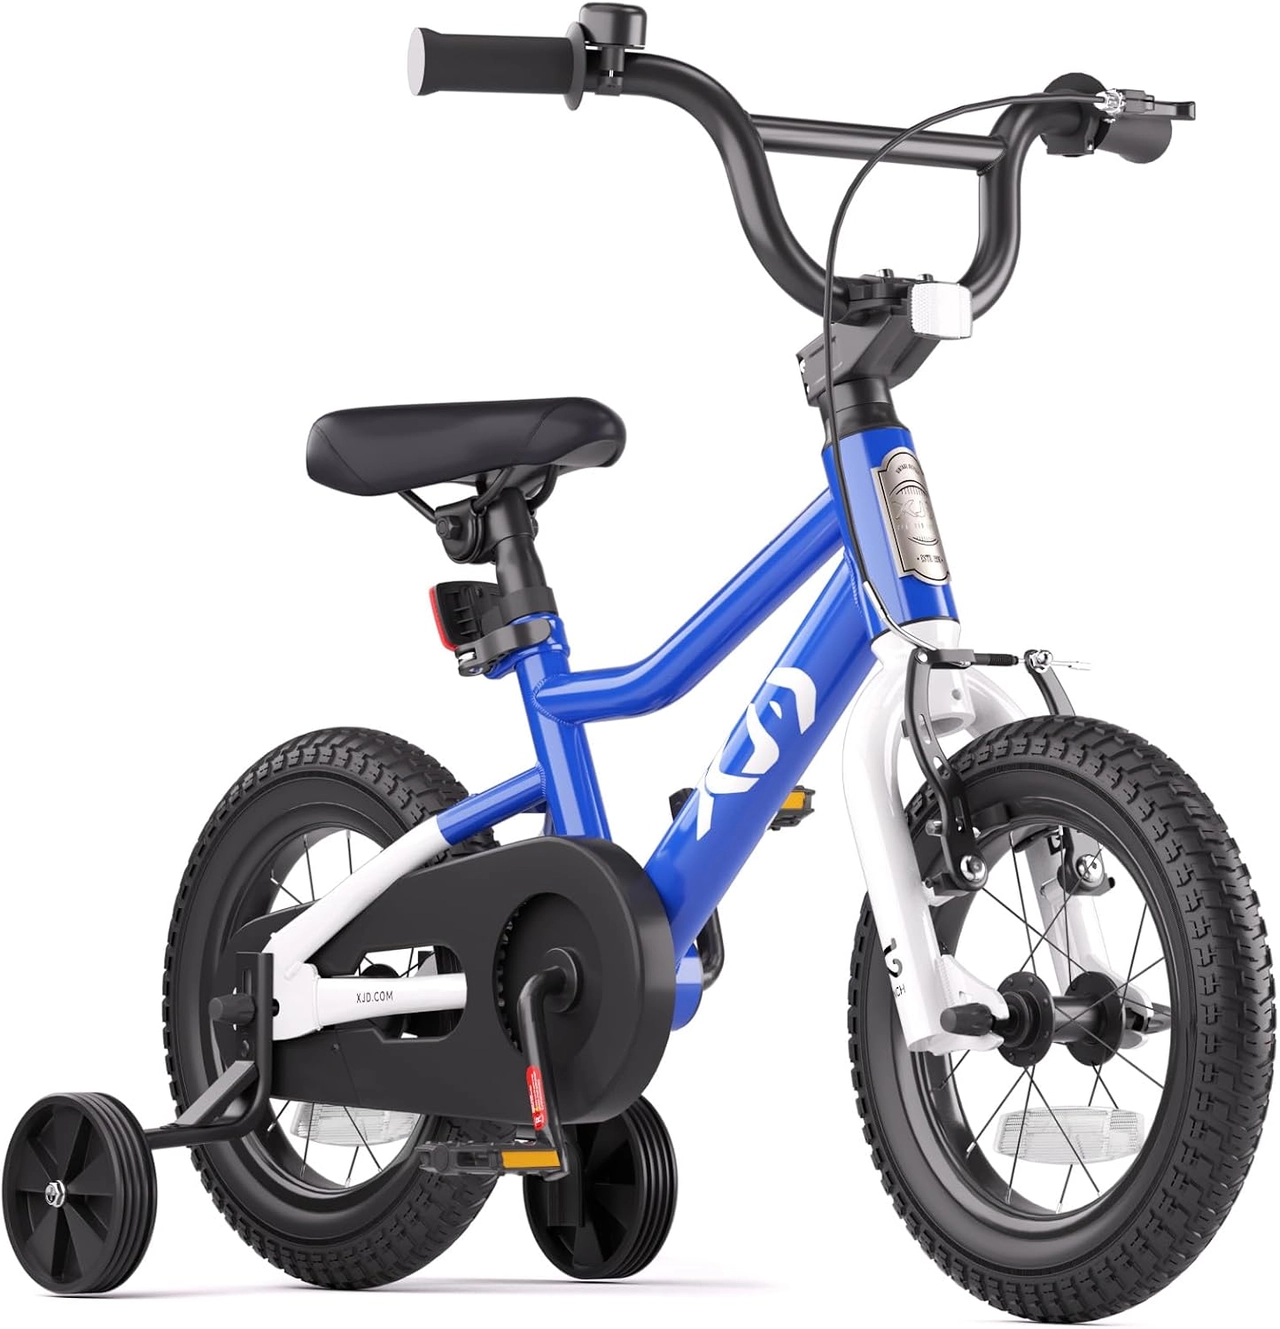
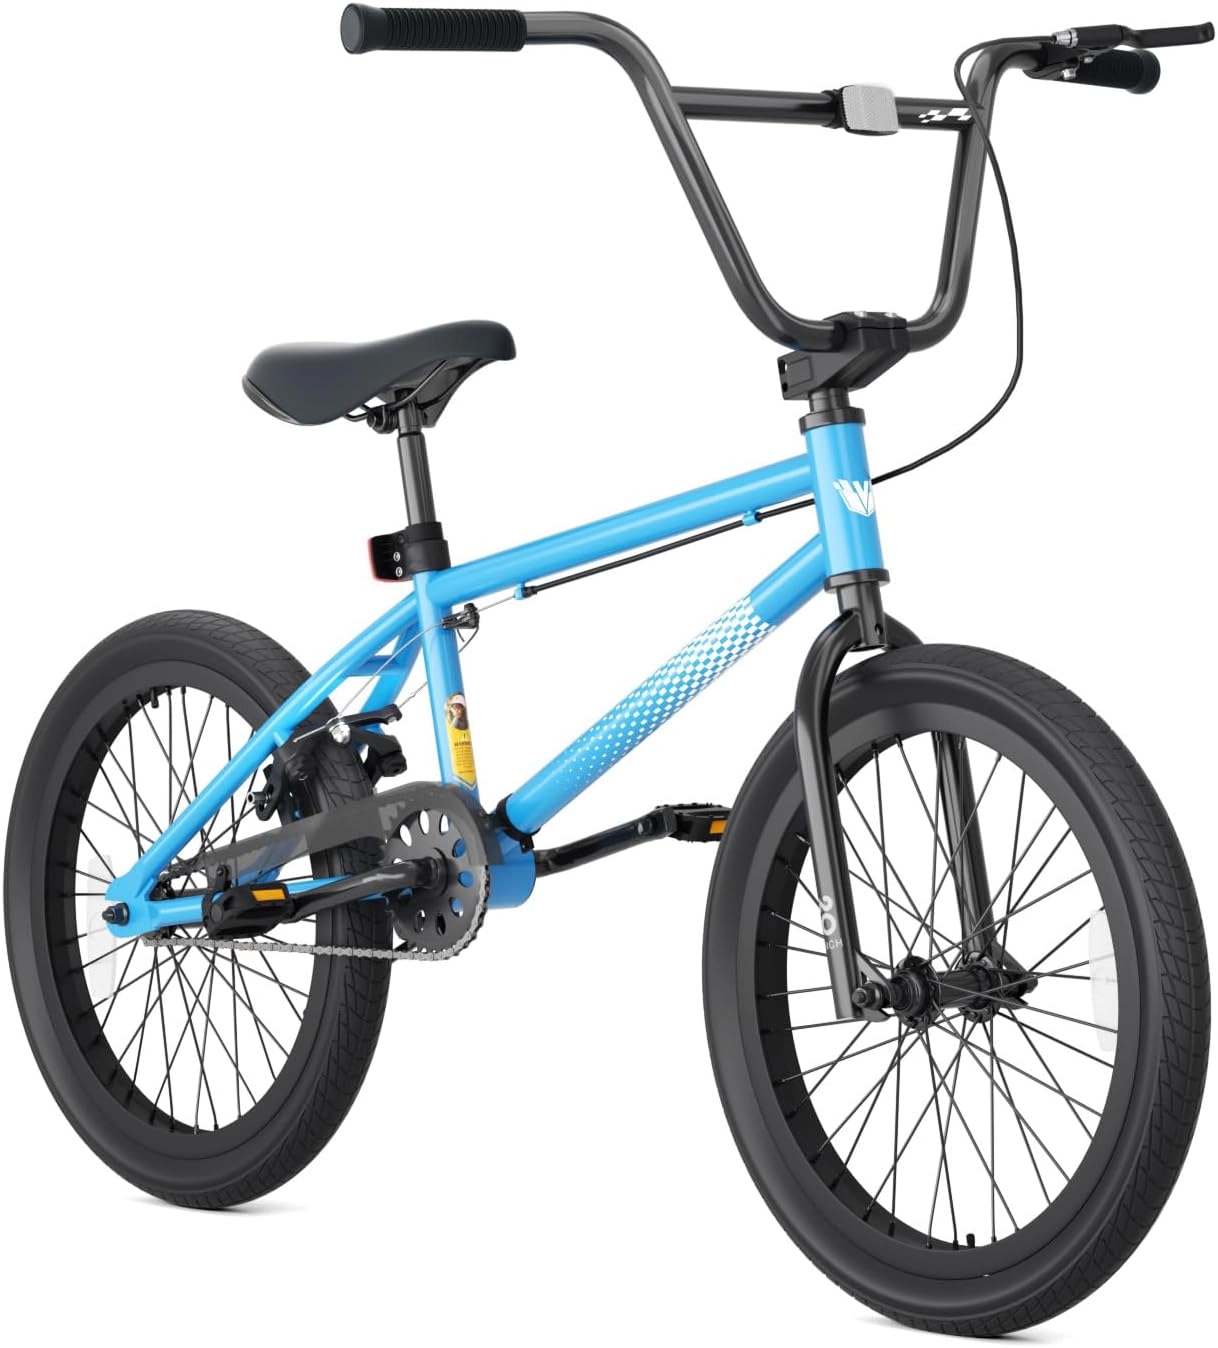
Read the supplied pedal markings and bicycle instructions for left and right installation. Do not decide from which pedal appears closer in a product photograph. The Blue BMX-style starter and Blue 20-inch freestyle example both use pedals, but their wheel size and equipment differ. Obtain the exact delivered bicycle's instructions rather than treating a common style word as proof of interchangeable parts.
Keep the connection aligned and unforced
Follow the approved engagement procedure and stop when the pedal will not align or turn as expected. Dirt, a mismatched part or thread damage may require inspection; this article does not diagnose one cause from resistance alone. Do not force a tool, grind a component or attempt to reshape a crank thread. Ask the seller or a qualified mechanic about uncertain engagement before continuing.
Use model requirements rather than guessed torque
Confirm compatible pedals, specified installation materials and final tightening requirements from the manufacturer. No generic torque value or tool size is assigned to these examples. A connection that feels tight is not automatically correctly installed, and a partially engaged pedal is not ready for use. Keep assembly tools and small packaging parts adult-managed away from the child's practice area.
Inspect the completed bicycle before riding
After competent assembly, check pedal security and the rest of the bicycle according to its manual, including wheels, steering and brakes. The starter lists training wheels with front caliper and rear coaster braking; the 20-inch example is a no-peg single-speed BMX configuration. Confirm the actual controls before a short supervised outing. Stop again for looseness, unusual movement or uncertain assembly.
Model details relevant to this task
The linked Blue pages represent separate exact starter and 20-inch configurations. They are not evidence that any replacement pedal thread will fit both. Keep model identification available when seeking help, and request approved part details rather than buying by wheel diameter alone. The linked model details are available for XJD Kids BMX Bike with Training Wheels – Blue, XJD 20-Inch Freestyle BMX Bike without Pegs – Blue.
Quick checklist
- Read pedal side markings.
- Use exact assembly instructions.
- Stop difficult engagement.
- Confirm approved tightening requirements.
- Inspect before the first ride.
Common questions
Should a resistant pedal be forced with a longer tool?
No. Stop and verify alignment, compatibility and condition before applying force to an uncertain connection.
Does wheel size determine pedal compatibility?
No. Confirm the actual crank and approved pedal specification with the manufacturer or a qualified mechanic.
Related collections
The BMX-style children's configurations and starter bicycle assembly examples provide further model details. Check the exact selected configuration when planning fit, handling and care.
Before the next outing
Treat a kids bike pedal thread as a precise assembly connection. Correct side identification, approved parts and unforced engagement should come before tools, final tightening and any riding attempt.