

How to Teach a Child to Ride a Bike in One Afternoon
You can teach a child to ride a bike in one afternoon by confirming the fit, practicing balance first, then adding pedaling, braking and turns in short sessions. Success is not guaranteed in a day; the useful goal is calm, repeatable control rather than forcing an independent ride.
Measure the rider before the lesson
Measure the child’s standing height and inseam while they wear the shoes they will ride in. Use height to identify a starting wheel size, then have the child try the actual bicycle. Age is only a rough reference.
| Wheel size | Starting age | Rider height |
|---|---|---|
| 12 Inch | 3–4 | 34–40 in / 86–102 cm |
| 14 Inch | 3–6 | 37–45 in / 94–114 cm |
| 16 Inch | 4–7 | 40–48 in / 102–122 cm |
| 18 Inch | 5–9 | 43–52 in / 109–132 cm |
| 20 Inch | 7–12 | 48–60 in / 122–152 cm |
| 24 Inch | 10–14 | 54–64 in / 137–163 cm |
| 26 Inch | Youth and adults | Over 60 in / 153 cm |
Do not buy an oversized bicycle for future growth. With the child on the bike, check that they can stand over it securely, reach the handlebar without stretching, steer without losing posture and operate the brakes confidently. Their inseam, reach, brake control and present confidence can rule out a size even when height or age falls within the starting range.
Set up a safe practice area
Choose a wide, level, traffic-free paved area without parked vehicles or avoidable obstacles. The child should wear closed-toe shoes and a properly fitting bicycle helmet. The helmet should sit level, with its straps adjusted according to the helmet manufacturer’s instructions.
Before riding, confirm that the bicycle is correctly assembled and operating properly. Use the exact product manual for adjustments, maintenance, compatibility and torque requirements; if anything is uncertain, have a qualified bicycle mechanic inspect it. Do not improvise mechanical changes simply to keep the afternoon moving.
Teach balance before pedaling
Begin with the child seated and able to stabilize the bicycle confidently. Ask them to move forward using their feet, look toward a clear destination and coast briefly when comfortable. Walk nearby without pulling the handlebar. Holding or steering the bike for them can hide whether they are balancing independently.
- Practice starting, moving straight and stopping with feet available for support.
- Encourage several short coasts while the child looks ahead rather than down.
- Add gentle steering toward a visible marker in each direction.
- Pause when posture becomes tense or repeated attempts become less controlled.
If the bike cannot be configured appropriately for this stage according to its manual, use a suitable learning bicycle or ask a mechanic about safe setup options. Never remove or alter parts unless the manual permits it and you can do so correctly.
Add pedaling, braking and turning
Once coasting looks controlled, introduce the pedals. Help the child place one pedal in a comfortable starting position, push off and look ahead. Give a light, brief steadying hand only if needed, then release rather than running while holding the bike. Use a clear stopping point so every attempt includes braking.
Build the sequence gradually: start, pedal straight, stop; then start, pedal, make a wide turn and stop. Ask the child to demonstrate brake use while stationary before relying on it in motion. If they cannot reach or operate the brakes reliably, stop and reassess the bicycle fit or setup.
Where the supplied bikes are relevant
The XJD Girls Bike Purple and XJD Girls Bike Peach are both cataloged as Training Wheel Bikes, and each is offered in 12 Inch, 14 Inch and 16 Inch labels. They are relevant comparison options when the rider’s measured height points to one of those starting sizes and the parent is considering a training-wheel bicycle. Their supplied facts do not establish individual fit, brake reach or readiness, so the child must still try the bicycle. The two models cannot be meaningfully separated by performance from the available information; compare the applicable size and the child’s fit rather than inferring differences from color or name.
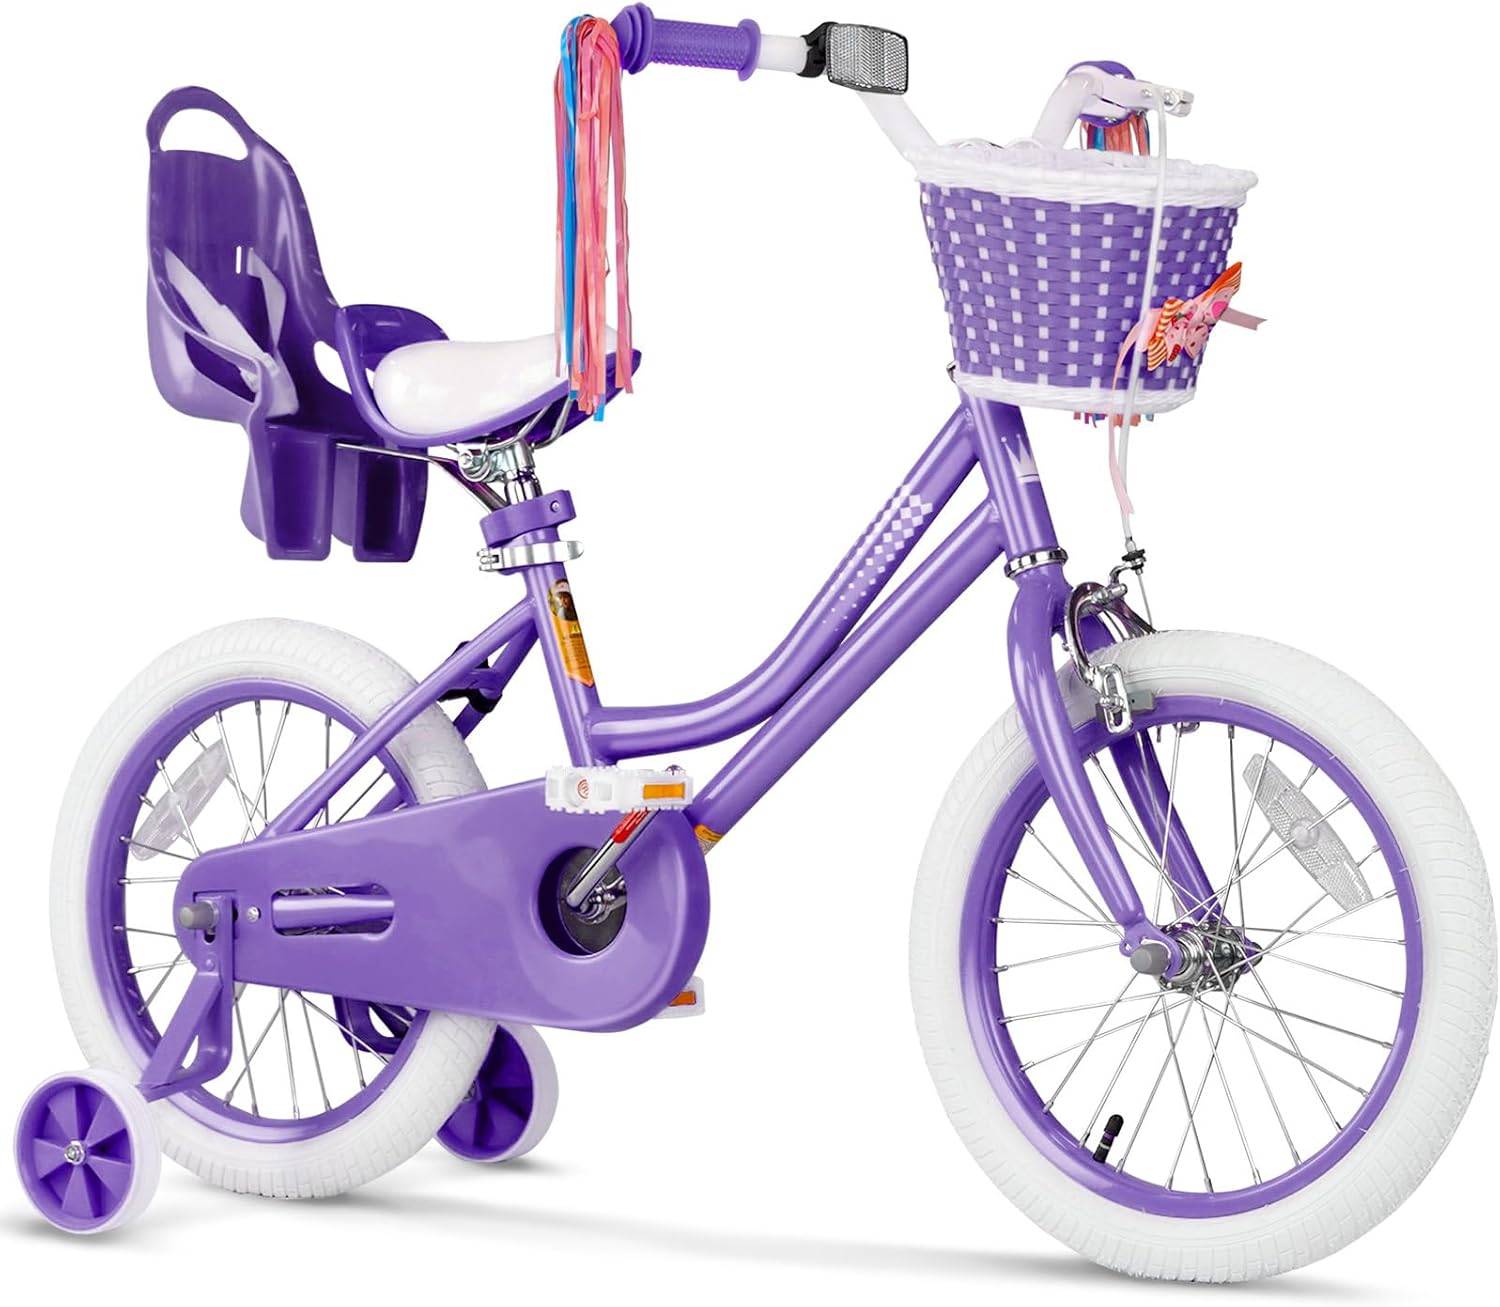 XJD Girls Bike Purple
A Training Wheel Bike offered in 12 Inch, 14 Inch and 16 Inch labels. XJD Girls Bike Purple is relevant only when measured rider fit and control support the selected size.
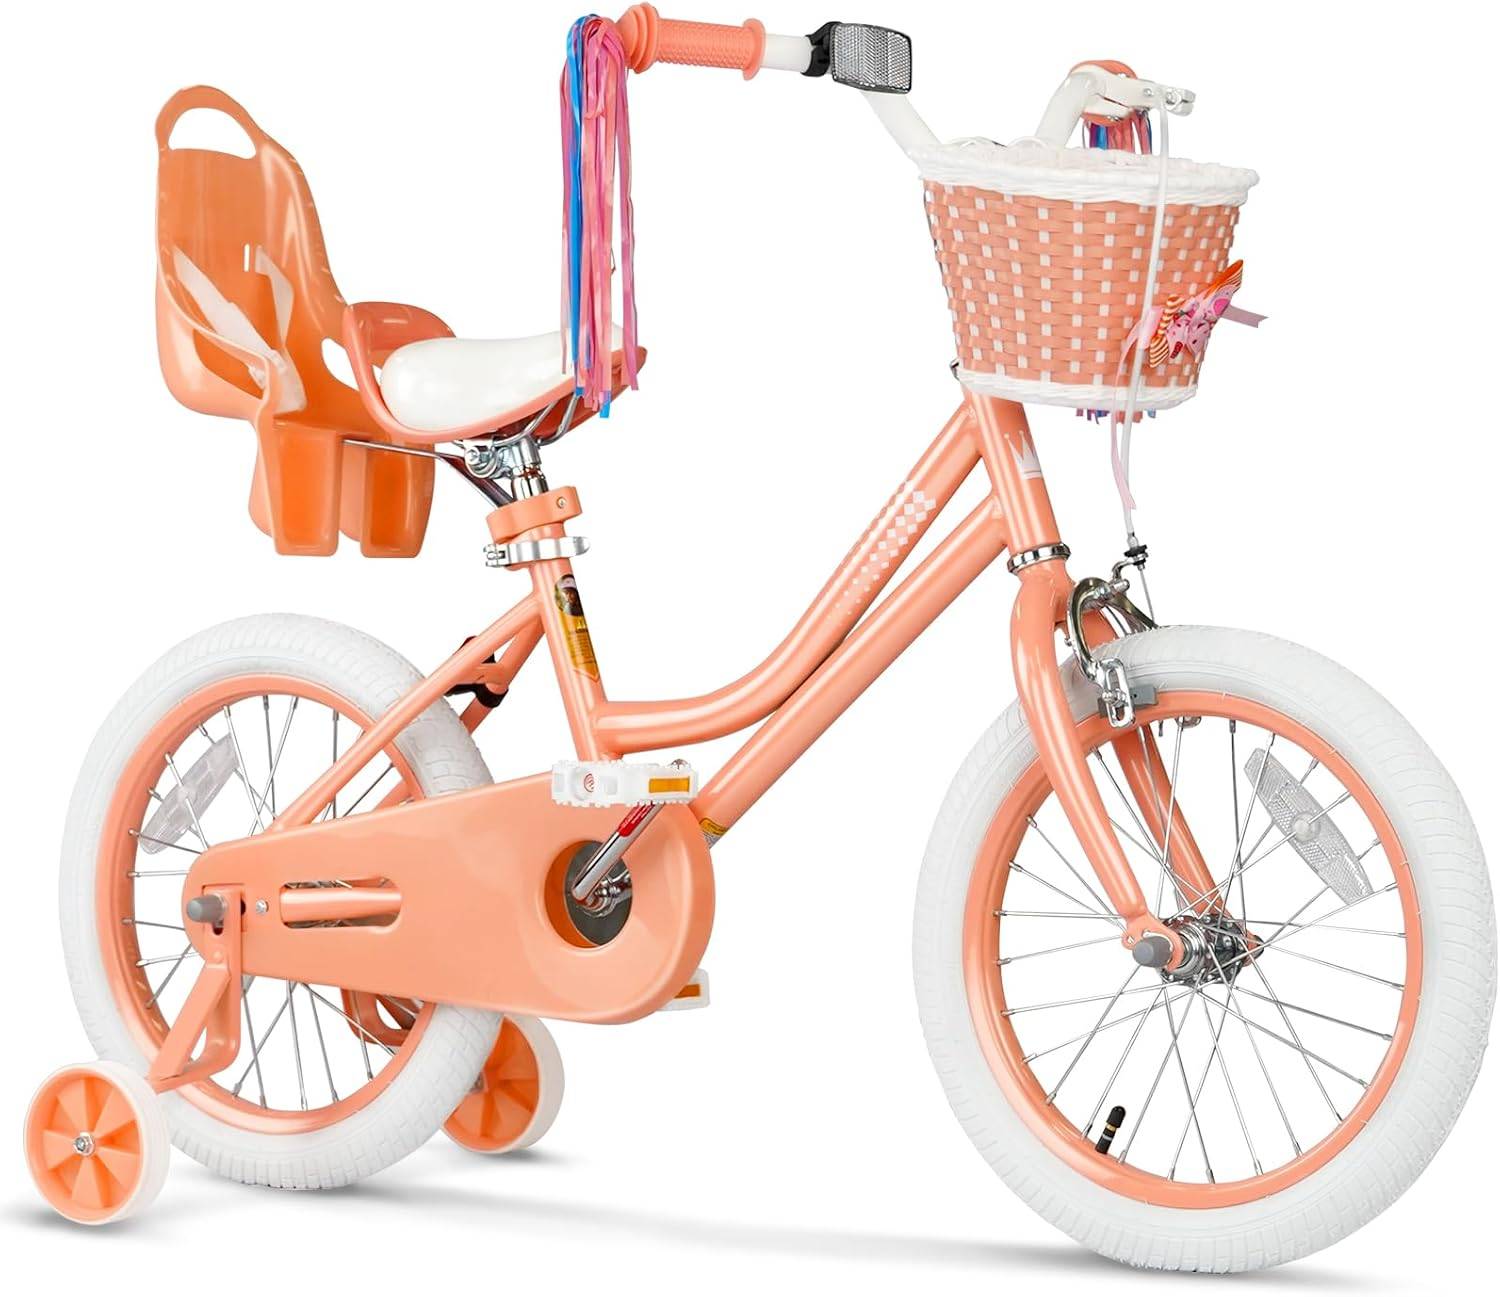 XJD Girls Bike Peach
 is a Training Wheel Bike available in 12 Inch, 14 Inch and 16 Inch labels. Use it as a comparison option, subject to an individual fit and control check.
Training wheels may provide support while a child develops familiarity with starting and pedaling, but they do not replace the balance check needed for independent two-wheel riding. Follow the specific bicycle manual for their setup or removal. For a rider whose measurements indicate 18 Inch or larger, these two products are not size substitutes because their supplied labels stop at 16 Inch.
Decide when to continue or stop
Continue while the child can follow instructions, recover calmly and repeat each skill with improving control. Take short breaks before fatigue produces rushed starts or abrupt steering. End the lesson if the rider cannot control the brakes, cannot maintain a secure riding position, becomes frightened or is repeatedly losing control.
The afternoon is successful when the child leaves with a repeatable next step—even if that is only balanced coasting. Measure first, verify the real bicycle fit, practice balance before pedaling, and finish only after the child can demonstrate a controlled stop.
Bikes for your next adventure
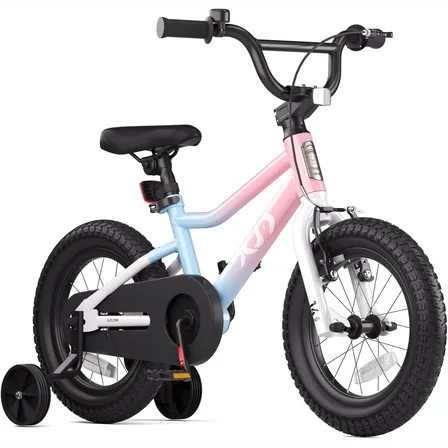
XJD Kids BMX Bike with Training Wheels – Pink Blue
8 reviews
XJD Kids BMX Bike with Training Wheels – Pink Blue brings the recorded fit, ridi…$99.99
$119.99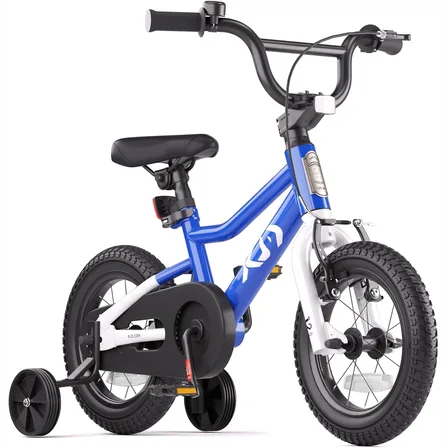
XJD Kids BMX Bike with Training Wheels – Blue
8 reviews
XJD Kids BMX Bike with Training Wheels – Blue brings the recorded fit, riding an…$99.99
$119.99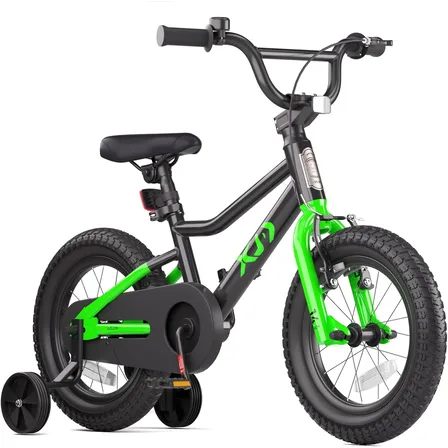
XJD Kids BMX Bike with Training Wheels – Black
XJD Kids BMX Bike with Training Wheels – Black brings the recorded fit, riding a…$99.99
$119.99