Training Wheels: Installing, Adjusting, Removing
Training wheels look like a fit-and-forget accessory, but their height adjustment decides how well they work — and how smoothly they eventually leave. Here's the full lifecycle.
Installation: attach the brackets to the rear axle, and set both wheels about 5 mm off the ground — the bike should lean just slightly side to side. Wheels touching the ground fully teach nothing; wheels too high tip the rider. Check the mounting bolts monthly; they loosen with vibration.
Five millimeters of clearance: the setting that actually teaches.
As confidence grows (weeks, not years), raise the training wheels a turn at a time — the bike tilts more, the child balances more. Watch for the sign they're obsolete: riding with both wheels rarely touching, leaning through turns.
Removal day: drop the seat so feet are flat, and head to the grass. Feet-first glides, then pedal restarts — most kids adjusted-up properly ride unaided within a session. New bikes arrive with the brackets in the box; models like the XJD Girls Bike with Basket & Doll Seat – Pink come ready for the whole cycle.
Recommended products
-
Save 16%
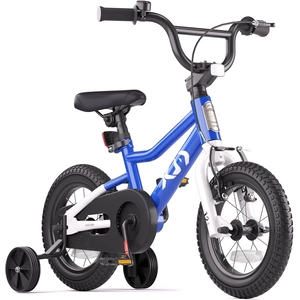
XJD Kids BMX Bike with Training Wheels – Blue
XJD Kids BMX Bike with Training Wheels – Blue gives parents verified fit guidanc…
Kids' BMX Bikes Wheel Size 12 Inch / 14 Inch / 16 Inch Recommended Height 86–122 cm Training Wheels Yes Single Speed 12 Inch -
Save 12%
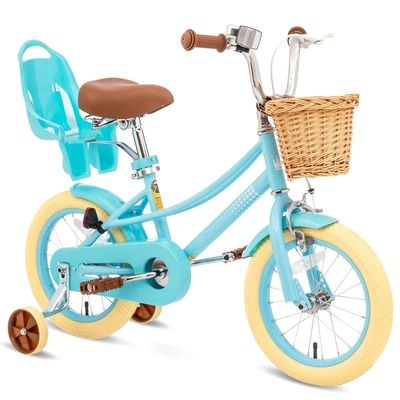
XJD Kids Bike Blue
XJD Kids Bike Blue gives parents verified fit guidance—rider height 71–152 cm; s…
Training Wheel Bikes Wheel Size 12 Inch / 14 Inch / 16 Inch / 20 Inch Recommended Height 86–152 cm Training Wheels Yes 16 Inch -
Save 12%
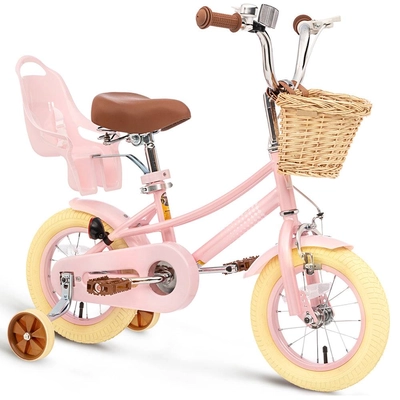
XJD Kids Bike Pink
XJD Kids Bike Pink gives parents verified fit guidance—rider height 71–152 cm; s…
Training Wheel Bikes Wheel Size 12 Inch / 14 Inch / 16 Inch / 20 Inch Recommended Height 86–152 cm Training Wheels Yes 20 Inch -
Save 16%
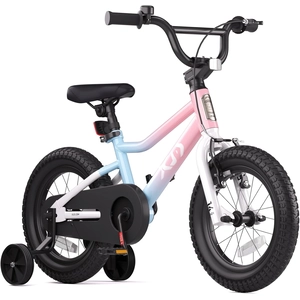
XJD Kids BMX Bike with Training Wheels – Pink Blue
XJD Kids BMX Bike with Training Wheels – Pink Blue gives parents verified fit gu…
Kids' BMX Bikes Wheel Size 12 Inch / 14 Inch / 16 Inch Recommended Height 86–122 cm Training Wheels Yes Single Speed 12 Inch