

Kids Bike Tire Levers: Choose the Tool Without Pinching the Tube
Kids bike tire levers are tools for working a suitable tire bead over a rim, not a reason to force every tight tire. First confirm the tire construction and the matching removal procedure. A household screwdriver can damage the parts it touches, while even a proper lever can trap a tube when used carelessly. Decide whether the task and equipment are understood before opening the wheel.
Establish where kids bike tire levers belong
Read the actual tire and rim instructions before selecting a lever. A conventional clincher has beads that seat against the rim; another tire construction may need another service method. Keep the child out of the workspace and support the bicycle appropriately. Wheel removal has its own retention and brake procedure, so plan that stage too. Knowing how to lever a bead does not establish how the bicycle’s axle equipment comes apart.
Choose a suitable undamaged working edge
Use a bicycle tire lever approved for the actual rim and tire. Inspect it for cracks, rough edges or a damaged tip before use. Plastic and metal versions exist, but material alone does not establish compatibility with every rim. Follow the component makers’ restrictions. Do not substitute a knife, screwdriver or sharp household implement, and do not assume a larger lever is the answer when an ordinary compatible tool begins to flex excessively.
Understand the tube-pinching risk before fitting
During a tube-type tire installation, a tool can catch the tube between the lever, bead and rim. Park Tool’s installation guidance prioritizes working the tire on by hand, reserving a lever for a careful final resort. Use the actual procedure and keep the tube from becoming trapped; do not copy a shortcut from a different tire system. A sudden easy movement after strong force can also mean something has been damaged rather than properly seated.
Pause when the bead will not move normally
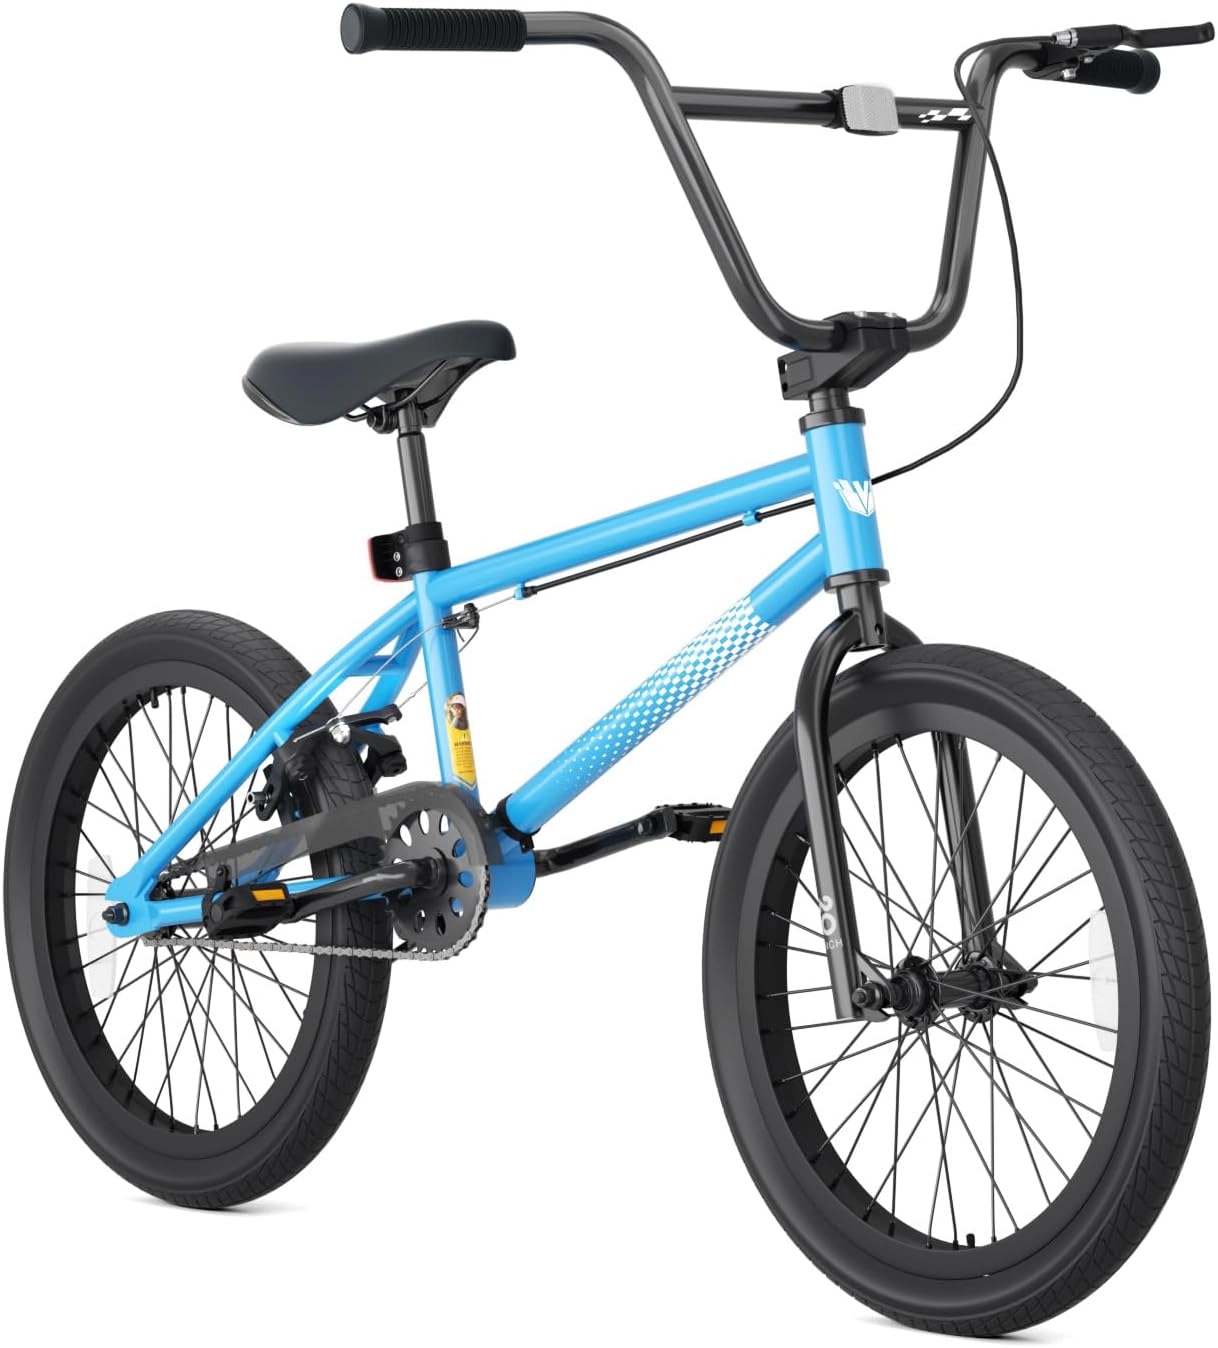
Stop for unexpected resistance, a tool slipping into the tube area or a bead that appears damaged. Recheck compatibility and the stated preparation instead of adding a second person’s force. The Blue XJD 20-inch freestyle example lists 20 by 2.4-inch tires, but that description does not identify the fitted rim model or approve a particular lever. A replacement tire must match the actual rim standard as well as its advertised wheel category.
Finish with the whole wheel, beyond tool removal
Inspect for trapped tube and proper tire seating through the applicable fitting instructions before completing inflation. Reinstall the wheel with its correct retention arrangement, then check clearance and affected brakes. Keep the tire lever out of the wheel after service and store it with the adult’s tools. If the tube loses air immediately after fitting, inspect for installation damage and the original puncture cause rather than simply pumping it again.
Model details relevant to this task
The current no-pegs Blue BMX is a real wide-tire example, not a demonstration of a particular tire lever or rim construction. No factory tube material, tubeless conversion or universal lever set is established here. A sound catalog photograph does not verify the condition of the tire being serviced. The linked model details are available for XJD 20-Inch Freestyle BMX Bike without Pegs – Blue.
Quick checklist
- Identify the tire construction.
- Use a compatible smooth-edged lever.
- Keep sharp substitutes away.
- Stop for unexplained resistance.
- Inspect seating and wheel retention.
Common questions
Is every plastic lever automatically suitable?
No. Check rim and tire restrictions and the tool’s condition; material alone cannot settle compatibility.
Should a screwdriver be wrapped in cloth instead?
Use the proper compatible tire tool. A cloth covering does not establish a safe working shape or prevent hidden damage.
Does fitting the tire prove the wheel is ready?
No. Seating, permitted inflation, wheel attachment and affected brake checks still need completion.
Related collections
The BMX wheel and tire layouts and other children’s bicycle configurations provide further model details. Check the exact selected configuration when planning fit, handling and care.
Before the next outing
Choose kids bike tire levers as part of a known tire-and-rim procedure. Protect the tube, stop before force replaces understanding and complete the entire wheel inspection before returning the bicycle to use.
Bikes for your next adventure
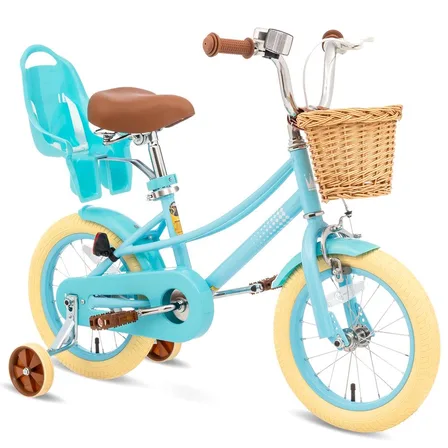
XJD Kids Bike Blue
XJD Kids Bike Blue brings the recorded fit, riding and configuration details tog…$139
$159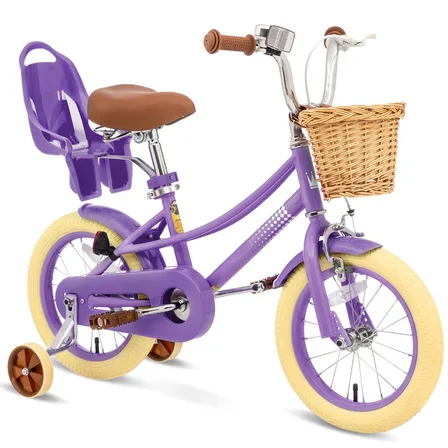
XJD Kids Bike Purple
XJD Kids Bike Purple brings the recorded fit, riding and configuration details t…$139
$159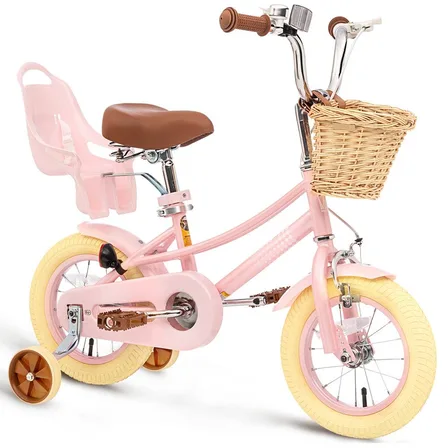
XJD Kids Bike Pink
XJD Kids Bike Pink brings the recorded fit, riding and configuration details tog…$139
$159