How Long Does It Take a Child to Learn to Ride a Bike?
How long does it take a child to learn to ride a bike? There is no dependable one-day answer. Some children connect balance, pedaling and braking in a few short practices; others repeat one stage over several weeks. Interest, prior balance experience, fit, coordination, practice frequency and trust in the adult all affect the timeline.
A useful schedule measures skills rather than days. The four-session framework below shows what to practice, but each session can be repeated. If the child resists, cannot reach the controls or becomes too tired to listen, pause instead of treating the calendar as a deadline.
Before session one: choose the right bike and place
Measure height and inseam, then check the current product guidance. The child should mount without struggling, hold the grips with relaxed shoulders and reach the braking controls from a normal hand position. Confirm that the saddle and handlebar stay within their marked adjustment limits.
Use a level, paved, traffic-free area with generous space and no slope toward a road, wall or water. A correctly fitted helmet is essential. Closed shoes and suitable protective equipment should match the riding setting. An adult inspects tires, steering, brakes, chain guard, pedals, wheels and fasteners before practice.
Session 1: stopping and walking the bike
Start with the most important skill: stopping. Show the child how the installed brake system works according to the bike manual. With the adult holding the bicycle steady, let the rider practice the hand motion or pedal motion used to brake. Then walk the bike forward a few feet and stop at a marker.
- Look ahead at the stop marker.
- Move slowly in a straight line.
- Apply the brake smoothly rather than grabbing suddenly.
- Put a foot down after the bicycle has slowed.
If the child cannot reach or operate a brake, do not continue to faster practice. Recheck fit and adjustment or ask a qualified bicycle professional to inspect the setup.
Session 2: balance and gliding
Balance practice should let the child feel small corrections. On a suitable bicycle, a parent may follow the manufacturer’s instructions for a balance-learning setup; do not remove parts unless the manual allows it and you can reinstall them correctly. The child pushes gently, lifts the feet for a moment and looks toward a marker.
Support near the child’s torso or saddle rather than steering the handlebar for them. Release support gradually and stay close. Count successful calm glides, not distance. Stop before fatigue creates stiff arms or rushed decisions.
Session 3: starts and pedaling
Teach a repeatable launch. Place one pedal in a strong starting position, keep the other foot on the ground, look ahead and push the raised pedal while the ground foot moves to its pedal. Practice only the start several times before adding a long ride.
A bike with training wheels can let a rider rehearse the pedal cycle while supported. The XJD Black BMX Bike with Training Wheels lists 12-, 14- and 16-inch choices, a single-speed drivetrain and training wheels. The XJD Pink Bike with Training Wheels and Basket lists 12-, 14-, 16- and 20-inch options. These are examples of how one product family can cover several heights; the correct live wheel option still has to match the rider.
Training wheels are learning hardware, not a substitute for instruction. Fit and install them exactly as the manual describes. Watch whether the child is pedaling, looking ahead and braking or simply leaning on one support through every turn.
Session 4: connect a short lap
Build a simple route with a start box, a straight lane, two wide turns and a stop line. The rider begins only after looking forward and hearing the adult’s signal. Ask for gentle steering and a controlled stop. Add distance only after the same short route can be repeated calmly.
| Skill | What the adult watches | Reason to pause |
|---|---|---|
| Start | Eyes ahead, steady first push | Repeated hard adult launch |
| Straight line | Relaxed arms, small corrections | Looking down continuously |
| Turn | Wide path, speed reduced first | Sharp steering or panic |
| Stop | Brake before the marker, foot down after slowing | Jumping off or missing the control |
What parents should say
Use short instructions: “look ahead,” “slow first,” “wide turn,” and “stop at the line.” Give one correction at a time. Instead of saying “don’t wobble,” describe the next action. Praise the behavior the child can repeat, such as looking toward the turn or stopping under control.
Avoid pushing from behind without warning or promising not to let go and then releasing. Predictability builds trust. Tell the child what support you will provide and when it will change.
Common problems and useful adjustments
The child looks at the pedals
Return to a short lane and place a clear object at eye level beyond the stopping point. Practice looking toward it while walking the bike before pedaling again.
Starts are difficult
Separate starting from riding. Rehearse pedal position and the first push while the adult stabilizes the bicycle. Check that the bike is not too large.
Turning causes fear
Increase the distance between markers and reduce speed. A very wide curve teaches looking and steering without requiring a sudden lean.
The child can ride but cannot stop reliably
Return to braking practice. Independent distance should not increase until stopping becomes predictable.
So how long should learning take?
There is no requirement to finish in four days. Repeat a session as often as needed and keep it short. When asking how long does it take a child to learn to ride a bike, count calm, repeatable starts, turns and stops instead of elapsed days. The goal is not a dramatic moment when an adult lets go; it is a child who can make decisions and stop with growing independence.
Recommended products
-
Save 15%
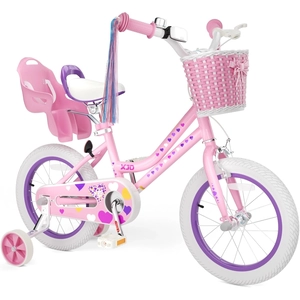
XJD Girls Bike with Training Wheels & Basket – Light Pink
XJD Girls Bike with Training Wheels & Basket – Light Pink brings the recorde…
Training Wheel Bikes Training Wheels Yes Geared 14 Inch -
Save 13%
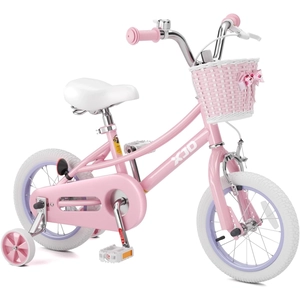
XJD Girls Bike with Training Wheels & Basket – Pink
XJD Girls Bike with Training Wheels & Basket – Pink brings the recorded fit,…
Training Wheel Bikes Training Wheels Yes Single Speed 12 Inch -
Save 16%
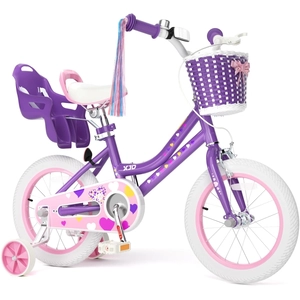
XJD Girls Bike with Training Wheels & Basket – Light Purple
XJD Girls Bike with Training Wheels & Basket – Light Purple brings the recor…
Training Wheel Bikes Training Wheels Yes Single Speed 12 Inch -
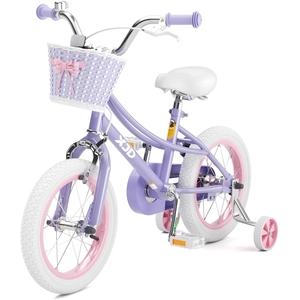
XJD Girls Bike with Training Wheels & Basket – Purple
XJD Girls Bike with Training Wheels & Basket – Purple brings the recorded fi…
Training Wheel Bikes Training Wheels Yes Single Speed 14 Inch