Are Training Wheels Supposed to Touch the Ground? Setup Checks for Parents
No—not usually. On a level surface, training wheels generally should not both press firmly on the ground at once. A small side-to-side lean lets the rider steer while each wheel catches the bike as needed. The bicycle’s exact manual takes priority.
What the setup should look like
Place the bicycle upright on a hard, flat surface with no rider aboard. Compare the two training wheels with the rear bicycle tire. The training-wheel brackets should appear even, secure and positioned symmetrically.
When the bike is held perfectly vertical, look for a small, deliberate gap or light contact rather than having both training wheels carry the bike continuously. Gently lean the bicycle each way. One training wheel should meet the ground, then the other should do the same when the bike leans in the opposite direction. The rear bicycle tire must remain in dependable contact with the surface.
Do not invent a universal clearance measurement. Bracket designs and manufacturer instructions differ. Use the clearance, fastener procedure and torque specified in the exact bicycle or training-wheel manual. If those instructions are missing or the assembly cannot be made even, ask a qualified bicycle mechanic to inspect it.
Measure and compare these points
- Left versus right height: With the bike upright, compare the gap beneath each training wheel. A visibly uneven pair can make the bicycle favor one side.
- Contact while leaning: Lean the bike slowly in both directions and compare how far it moves before each support wheel touches.
- Rear-tire contact: Confirm that the driven rear tire does not lift or lose useful traction because the supports are set too low.
- Bracket alignment: Compare both brackets from behind. Look for bending, twisting, looseness or mounting positions that do not match.
- Rider control: During a supervised check in a level, traffic-free area, watch whether the child can start, steer, stop and reach the brakes comfortably.
What different symptoms mean
| What you observe | Likely next check |
|---|---|
| Both training wheels bear weight constantly | Check whether they are set too low for the manual’s intended position and whether the rear tire maintains traction. |
| The bicycle leans noticeably while parked upright | Compare bracket positions, wheel heights and fastener security on both sides. |
| One support touches much sooner than the other | Recheck symmetry and inspect for a bent or incorrectly mounted component. |
| The bike rocks excessively or feels unpredictable | Stop riding and have the setup checked against the manual or by a qualified mechanic. |
Never compensate for a damaged, loose or incompatible part by guessing at bracket placement. Training-wheel compatibility, assembly sequence, load limits and torque must come from the exact product documentation.
Fit comes before adjustment
A correctly positioned training-wheel set cannot make an oversized bicycle fit. Have the child try the bike. Check measured height and inseam, comfortable stand-over space, manageable reach, brake control and current confidence. Do not choose extra size merely to allow room for growth.
For wheel-size starting points, XJD Bikes lists 12 Inch for heights 34–40 in (86–102 cm), generally ages 3–4; 14 Inch for 37–45 in (94–114 cm), generally ages 3–6; and 16 Inch for 40–48 in (102–122 cm), generally ages 4–7. Overlapping ranges make the individual fit check decisive, and age alone should not select the bike.
How the supplied XJD options are relevant
XJD Girls Bike Purple and XJD Girls Bike Peach are both cataloged as Training Wheel Bikes, with 12 Inch, 14 Inch and 16 Inch SKU labels available. They are useful comparison options when those starting sizes match the rider’s measurements. The supplied catalog facts do not specify their training-wheel clearance, assembly method or compatibility details, so consult the exact product manual for setup.
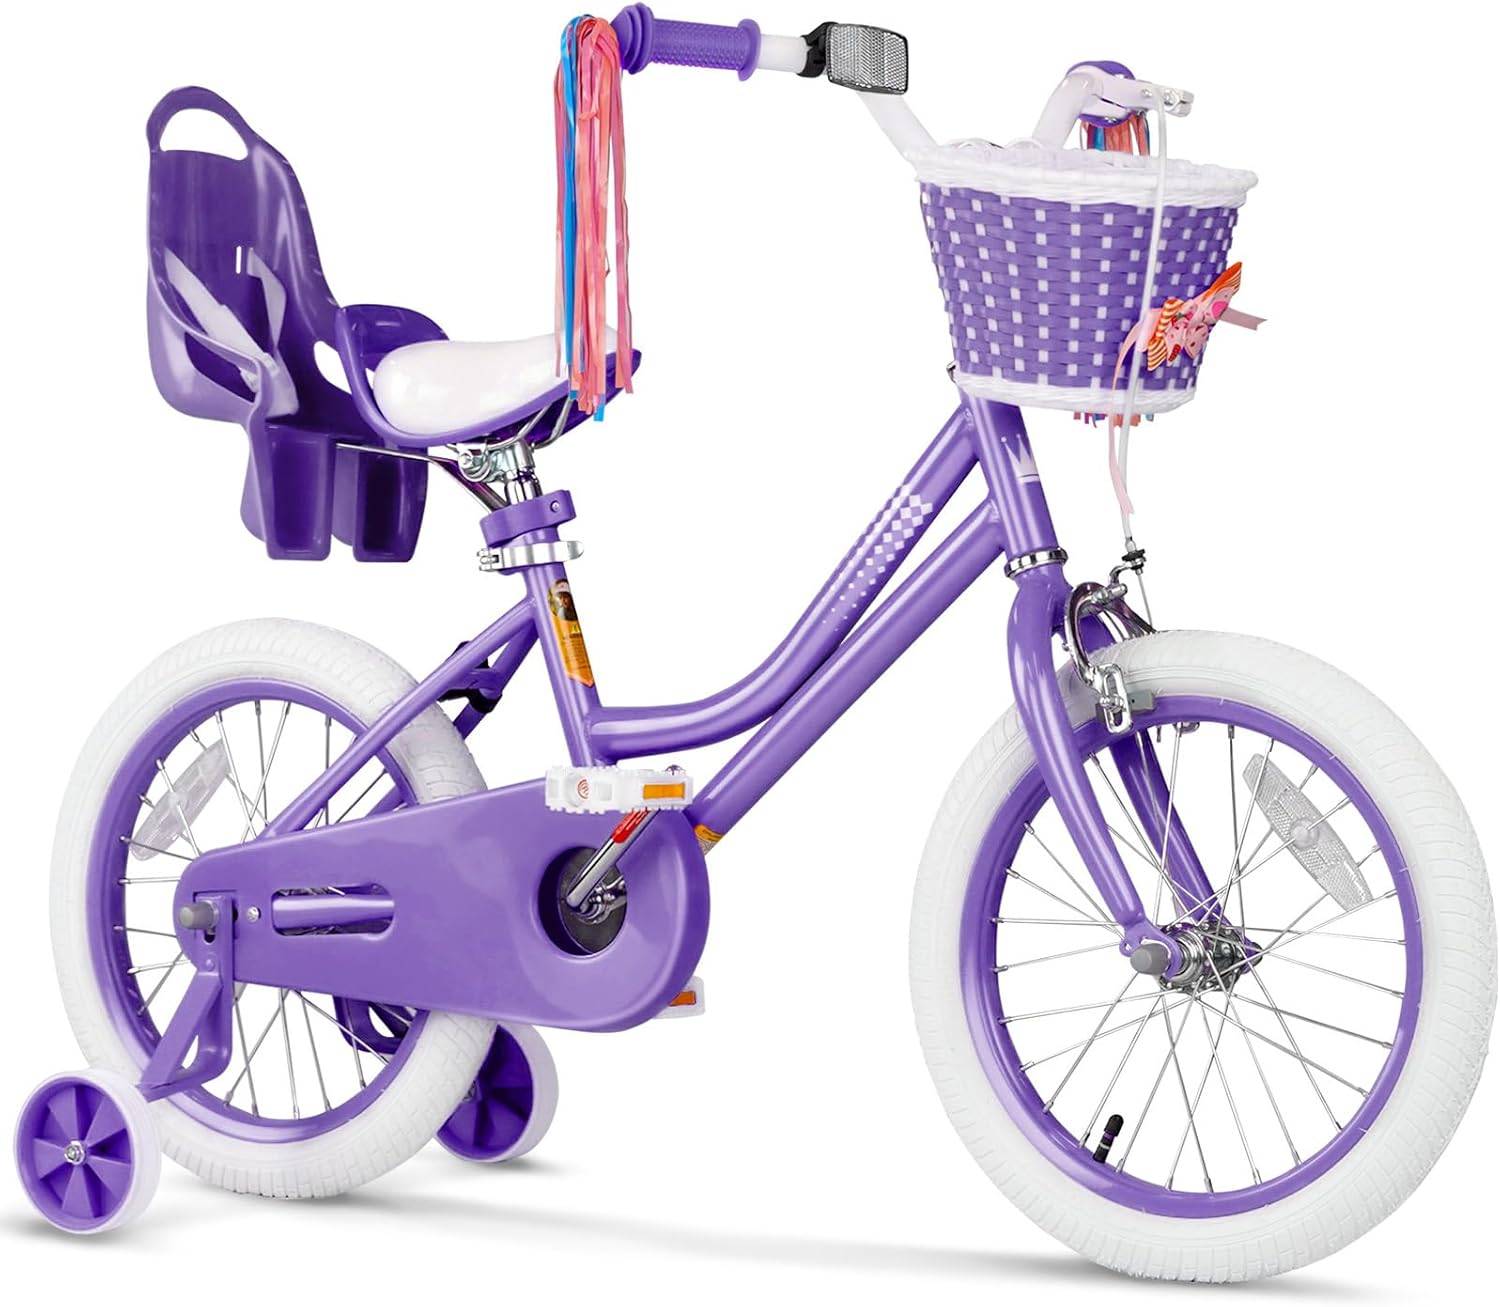 XJD Girls Bike Purple
A Training Wheel Bikes option offered in 12 Inch, 14 Inch and 16 Inch SKU labels; use the rider’s measurements and the exact manual to assess fit and setup.
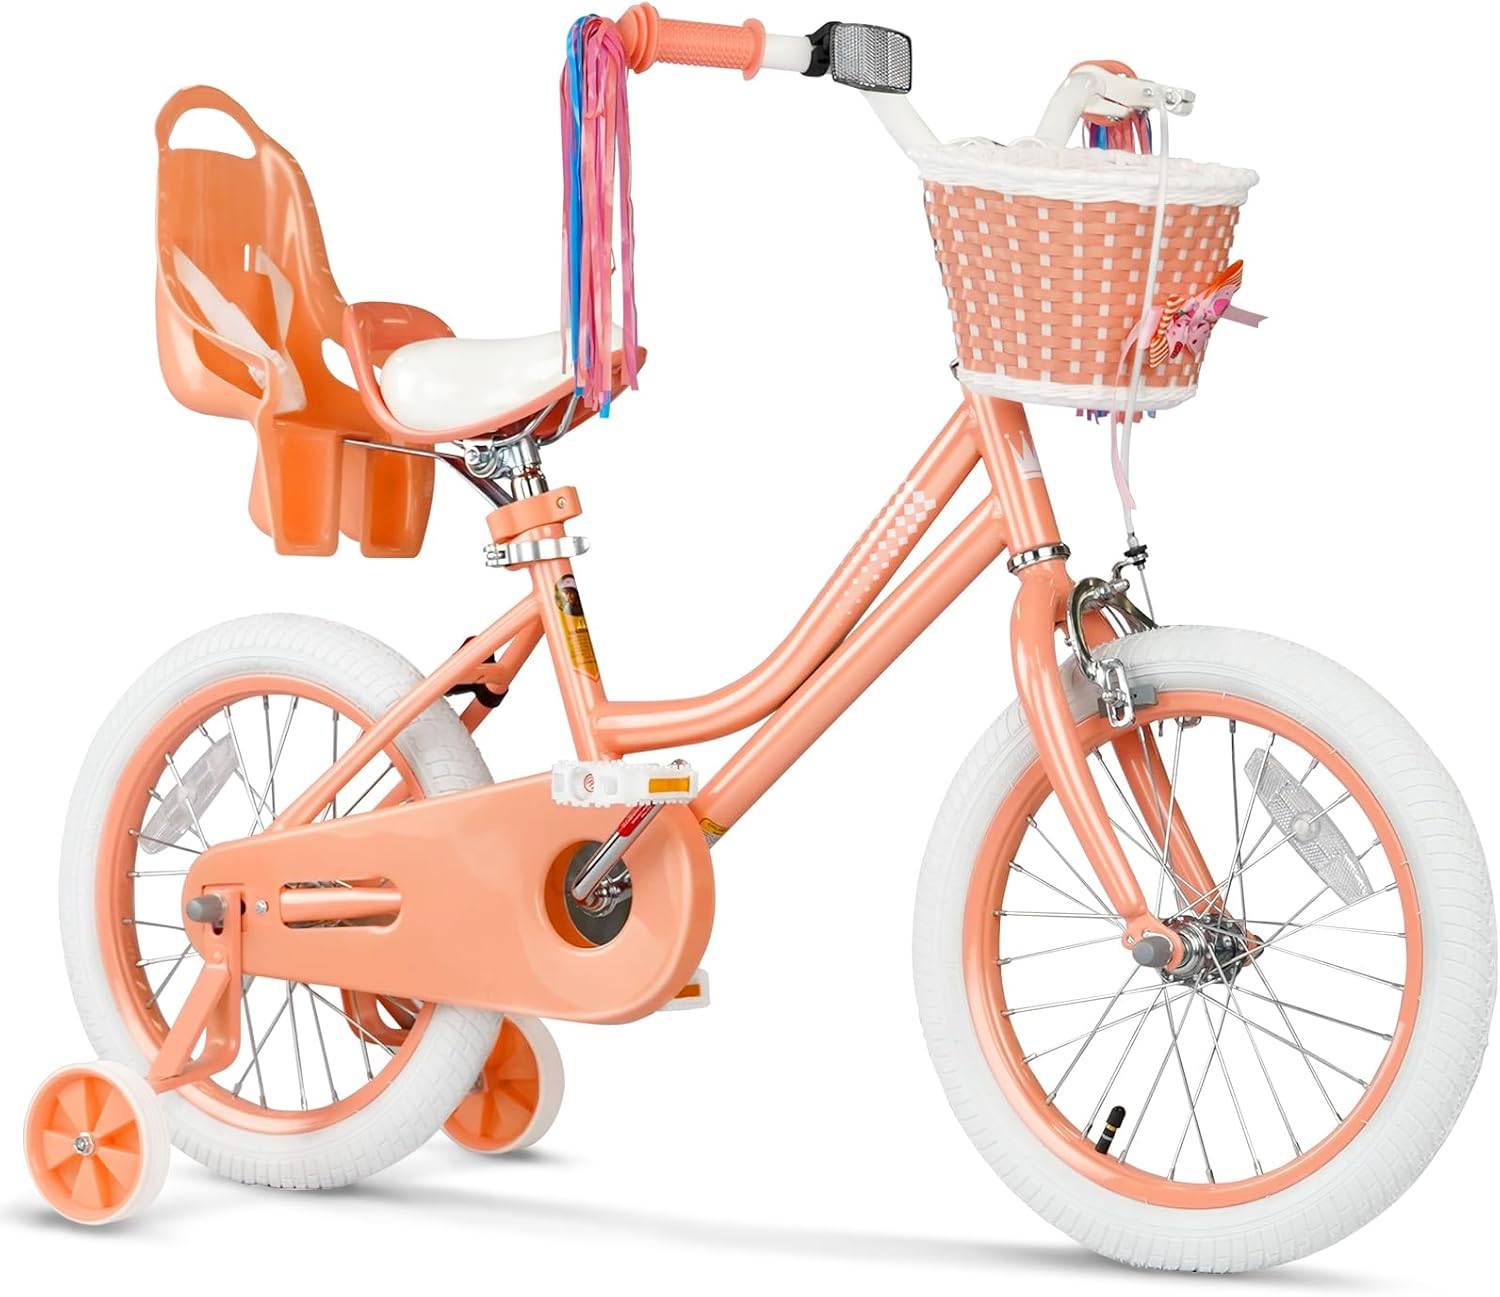 XJD Girls Bike Peach
A Training Wheel Bikes option with 12 Inch, 14 Inch and 16 Inch SKU labels. Its supplied facts allow size comparison but do not specify training-wheel clearance or assembly.
The two models have the same supplied size labels, so the catalog information does not establish a setup or fit advantage for either one. Compare the child’s actual height, inseam, reach, brake control and confidence before choosing among 12 Inch, 14 Inch and 16 Inch. Then verify the training-wheel position using the manual for the selected model.
Check again with the rider
After assembly, use a properly fitting bicycle helmet. It should sit level, and its straps should be adjusted according to the helmet manufacturer’s instructions. In a flat, open area away from traffic, walk beside the child while checking starts, gentle turns and stops.
Stop if a support wheel folds, shifts, scrapes unusually, repeatedly lifts the rear tire or makes the bicycle pull strongly to one side. Recheck all relevant instructions; use a qualified bicycle mechanic when the cause is unclear.
The final decision is simple: if both training wheels are planted firmly all the time, recheck the setup. Keep only the manual-specified small alternating lean, confirm equal behavior on both sides, and let the child ride only when fit, steering and braking remain controlled.
Recommended products
-
Save 16%
XJD Girls Bike with Training Wheels & Basket – Light Purple
XJD Girls Bike with Training Wheels & Basket – Light Purple brings the recor…
Training Wheel Bikes Training Wheels Yes Single Speed 12 Inch -
Save 15%
XJD Girls Bike with Training Wheels & Basket – Light Pink
XJD Girls Bike with Training Wheels & Basket – Light Pink brings the recorde…
Training Wheel Bikes Training Wheels Yes Geared 14 Inch -
Save 13%
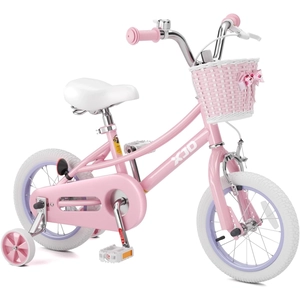
XJD Girls Bike with Training Wheels & Basket – Pink
XJD Girls Bike with Training Wheels & Basket – Pink brings the recorded fit,…
Training Wheel Bikes Training Wheels Yes Single Speed 12 Inch -
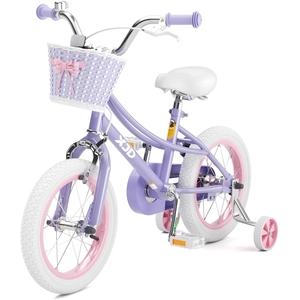
XJD Girls Bike with Training Wheels & Basket – Purple
XJD Girls Bike with Training Wheels & Basket – Purple brings the recorded fi…
Training Wheel Bikes Training Wheels Yes Single Speed 14 Inch