

Youth & Adult Bikes Buying Guide: How to Choose with Confidence
Choose a youth or adult bike by measuring rider height and inseam, then checking stand-over clearance, reach, brake control, and confidence on the actual bike.
Start with measurements, not age
Measure the rider barefoot against a wall for height. For inseam, have the rider stand with feet slightly apart and measure from the floor to the crotch. Record both measurements in inches or centimeters before comparing bicycles.
Age can suggest a starting wheel size, but it cannot confirm fit. Body proportions, skill, and confidence vary. The rider should try the bicycle whenever possible; do not choose an oversized model simply to leave room for growth.
Use wheel size as a starting point
| Wheel size | Age starting point | Rider height starting point |
|---|---|---|
| 12 Inch | 3–4 | 34–40 in / 86–102 cm |
| 14 Inch | 3–6 | 37–45 in / 94–114 cm |
| 16 Inch | 4–7 | 40–48 in / 102–122 cm |
| 18 Inch | 5–9 | 43–52 in / 109–132 cm |
| 20 Inch | 7–12 | 48–60 in / 122–152 cm |
| 24 Inch | 10–14 | 54–64 in / 137–163 cm |
| 26 Inch | Youth and adults over 60 in | Over 60 in / 153 cm |
Overlapping ranges are normal. If the rider falls into two ranges, compare both sizes in person rather than deciding from the chart alone. A 26-inch wheel is the listed starting point for youth and adults over 60 inches, but wheel diameter does not describe frame geometry or guarantee a comfortable riding position.
Perform an individual fit check
Ask the rider to straddle the bicycle while standing over its frame. They need suitable clearance and must be able to mount and dismount without struggling. Because frame shapes differ, matching a height range is not enough.
Next, have the rider sit in a normal riding position and hold the grips. Look for a natural posture rather than a forced stretch. The rider should be able to steer deliberately, keep control at low speed, and operate the brakes comfortably. Confirm that their hands can reach and use the brake controls without losing a secure grip.
Confidence is part of fit. Hesitation, difficulty starting or stopping, an awkward reach, or poor control are reasons to compare another size or configuration. A smaller, controllable bicycle is preferable to an oversized one selected for future growth.
Compare the supplied XJD options carefully
The XJD Kids Bike Purple and XJD Kids Bike Pink are both cataloged as Training Wheel Bikes, with supplied size labels of 12 Inch, 14 Inch, 16 Inch, and 20 Inch. They help compare color choices within the same listed category and size-label range after measurements identify a plausible starting size.
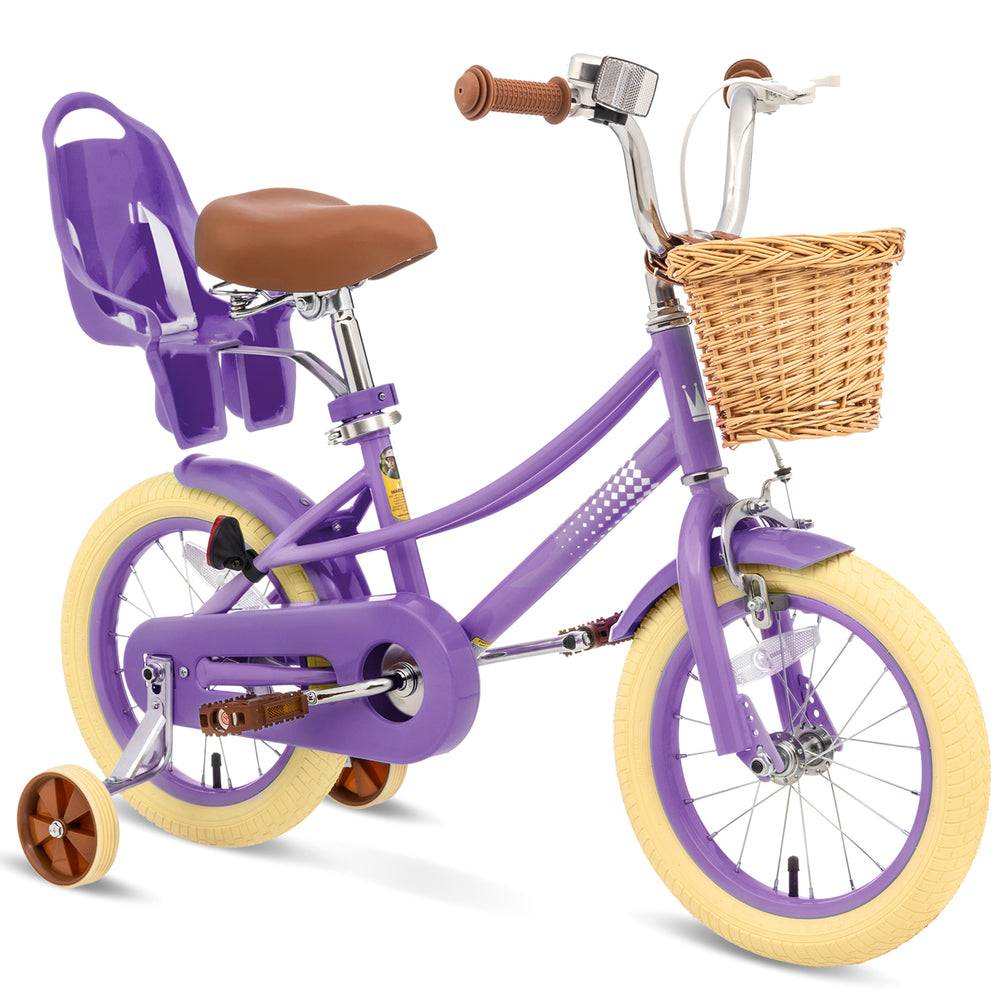 XJD Kids Bike Purple
 is a Training Wheel Bike offered with 12, 14, 16, and 20 Inch SKU labels. It is relevant only when measurement and an individual control check support one of those starting sizes.
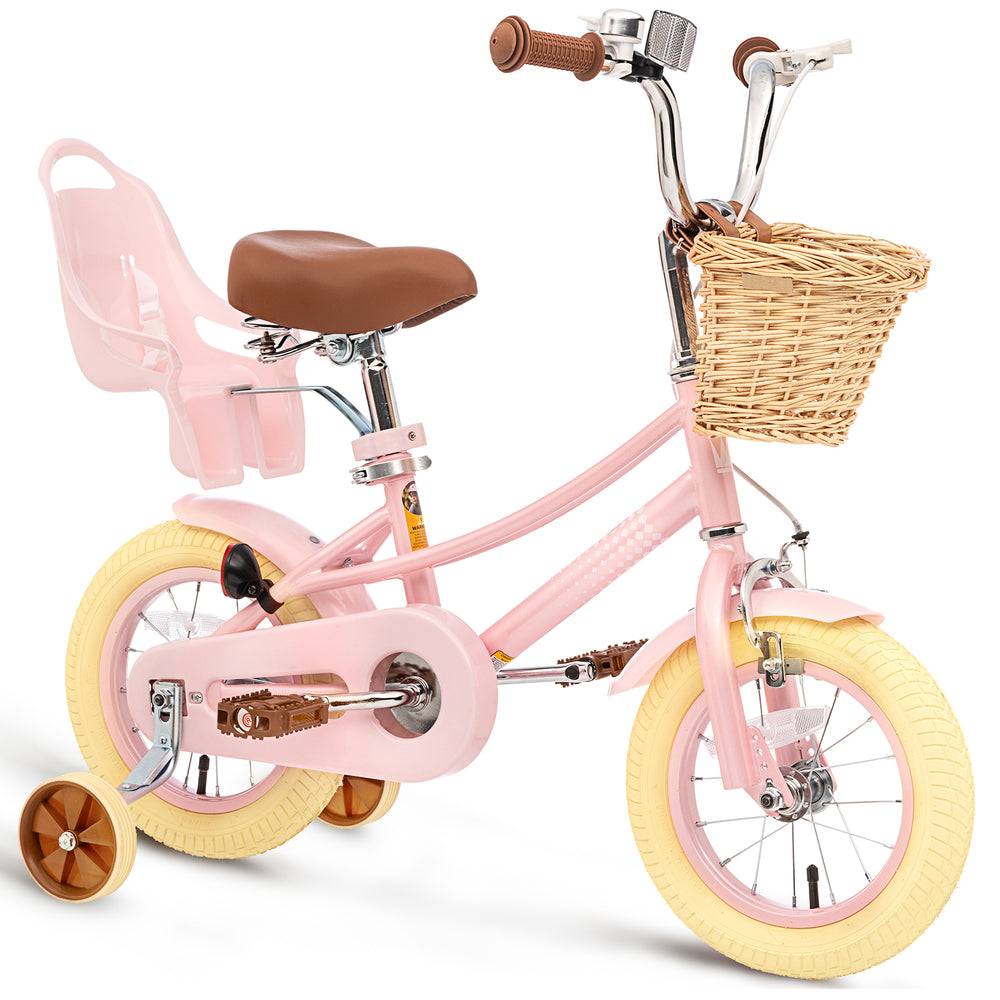 XJD Kids Bike Pink
 is a Training Wheel Bike with 12, 14, 16, and 20 Inch SKU labels. Compare it after checking height, inseam, stand-over, reach, brake control, and rider confidence.
Neither supplied product offers an 18 Inch, 24 Inch, or 26 Inch SKU label. If the fit process points to one of those sizes, these products are nearest-size comparison points only, not substitutes; another wheel size is not equivalent. In particular, they should not be presented as adult-bike options merely because this guide covers both youth and adults.
Between the two supplied products, the catalog facts establish color and exact title differences, but do not establish differences in price, components, materials, brakes, weight, load limits, or performance. Choose between them only after confirming that an available size label leads to a successful individual fit check.
Check control, setup, and helmet fit
- Stand-over: Confirm appropriate clearance while the rider is standing over the actual frame.
- Reach: Check that the grips and controls are comfortable without excessive stretching.
- Braking: Make sure the rider can reach and operate the brake controls while maintaining control.
- Confidence: Observe starting, steering, stopping, mounting, and dismounting in a safe practice area.
- Helmet: Use a properly fitting bicycle helmet. It should sit level, with straps adjusted according to the helmet manufacturer’s instructions.
Assembly details, maintenance procedures, compatibility, load limits, and torque values are product-specific. Follow the exact bicycle manual or ask a qualified bicycle mechanic rather than applying a generic procedure or guessed specification.
Make the final decision
- Measure height and inseam.
- Use the chart to identify one or two starting wheel sizes.
- Try the actual bicycle and assess stand-over, reach, braking, and handling.
- Reject any option that is oversized, awkward, or beyond the rider’s current confidence.
- Confirm setup from the exact manual and fit the helmet before riding.
Buy only when the measured starting size and the real-world control check agree. For the supplied XJD models, proceed only if 12, 14, 16, or 20 Inch is appropriate; otherwise, continue searching for the wheel size the rider actually needs.
Bikes for your next adventure
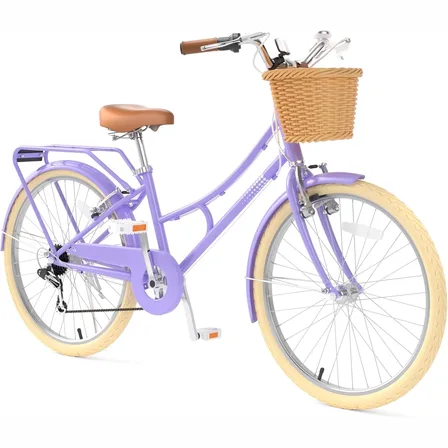
XJD Beach Cruiser Bike with U-Brake – Purple, 24-Inch
XJD Beach Cruiser Bike with U-Brake – Purple, 24-Inch brings the recorded fit, r…$159.99
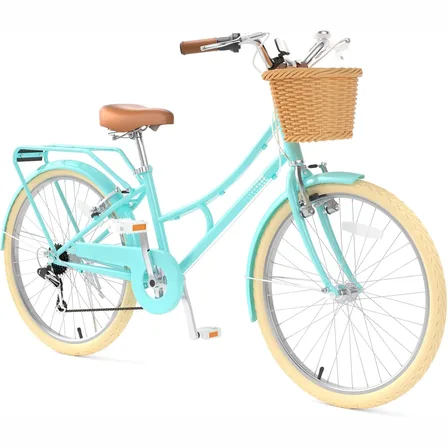
XJD Beach Cruiser Bike with U-Brake – Green, 24-Inch
XJD Beach Cruiser Bike with U-Brake – Green, 24-Inch brings the recorded fit, ri…$159.99
$199.99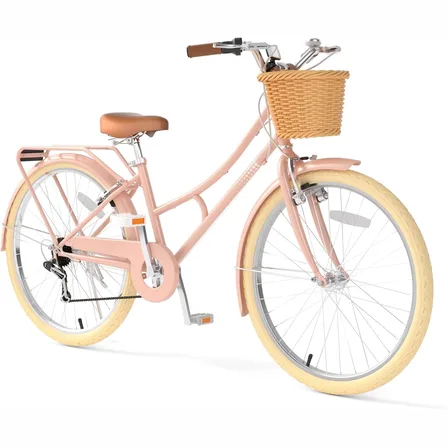
XJD Beach Cruiser Bike with U-Brake – Pink
3 reviews
XJD Beach Cruiser Bike with U-Brake – Pink brings the recorded fit, riding and c…$159.99