Kids' Bike Size Guide: Choose the Right Wheel Size by Height and Inseam
Featured
Choose a kids’ bike by measuring the child’s height and inseam, matching height to the wheel-size table, then confirming stand-over clearance, reach, brake control and confidence on the actual bike. Age is only a starting point.
Measure height and inseam first
Measure the rider in the shoes they normally wear for cycling. For height, have them stand straight against a wall, looking forward, and measure from the floor to the top of the head.
For inseam, place a firm, thin book between the legs with its edge level and gently raised to mimic where the bike’s saddle meets the rider. Measure vertically from the floor to the top edge of the book. Record both measurements in inches or centimeters without rounding up.
Inseam does not translate to one universal wheel size because frame shapes and saddle ranges vary. Use it during the actual fit check: the child must be able to straddle the bicycle comfortably, get on and off without struggling, and use the pedals from a controlled saddle position. Check the exact product information or manual for adjustment limits.
Compare measured height with wheel size
Start with the row containing the child’s measured height. When height ranges overlap, compare both sizes in person instead of automatically choosing the larger wheel. The child’s inseam, reach and present riding confidence should decide between them.
| Wheel size | Age starting point | Rider height |
|---|---|---|
| 12 Inch | 3–4 | 34–40 in / 86–102 cm |
| 14 Inch | 3–6 | 37–45 in / 94–114 cm |
| 16 Inch | 4–7 | 40–48 in / 102–122 cm |
| 18 Inch | 5–9 | 43–52 in / 109–132 cm |
| 20 Inch | 7–12 | 48–60 in / 122–152 cm |
| 24 Inch | 10–14 | 54–64 in / 137–163 cm |
| 26 Inch | Youth and adults | Over 60 in / 153 cm |
These ranges are XJD Bikes starting points, not a promise of fit. A tall younger rider may need a different size from an older, shorter rider. Never override measured fit simply because an age falls neatly into one row.
Resolve an overlap without sizing up for growth
If the child fits two height ranges, begin with the bike they can control more easily. Have them straddle each candidate, sit in a normal riding position, place their hands on the grips and operate the brakes. Watch for stretching, leaning or shifting a hand just to reach a control.
Do not buy an oversized bicycle merely to leave growing room. The American Academy of Pediatrics advises having the child try the bike and checking stand-over, general control and brake reach. A bike the rider may grow into later can still be too difficult to start, stop or steer today.
Perform the individual fit check
Before deciding, use this sequence on the fully assembled bicycle:
- Straddle: Confirm the rider can stand over the frame comfortably and remain balanced.
- Mount and stop: Ask the child to get on, settle into position and get off without assistance or a sudden tip.
- Reach: Check that the handlebars can be held without locked elbows, excessive leaning or an obviously cramped posture.
- Brake control: Confirm the child can reach and operate the available brake controls while maintaining a secure grip.
- Low-speed control: In a suitable traffic-free area, check starting, steering and stopping at an easy pace.
If the rider freezes, wobbles from the bike’s size, cannot manage the controls or loses balance while stopping, do not accept the fit based on height alone. Recheck the smaller overlapping option or another frame. Follow the exact product manual for assembly and adjustments; use a qualified bicycle mechanic when instructions are unclear.
Where the supplied XJD options fit
The XJD Girls Bike Peach and XJD Boys Bike Blue are both Training Wheel Bikes offered with 12 Inch, 14 Inch and 16 Inch SKU labels. They help parents compare the three smallest wheel-size starting points in this guide; their supplied catalog facts do not establish any individual child’s fit.
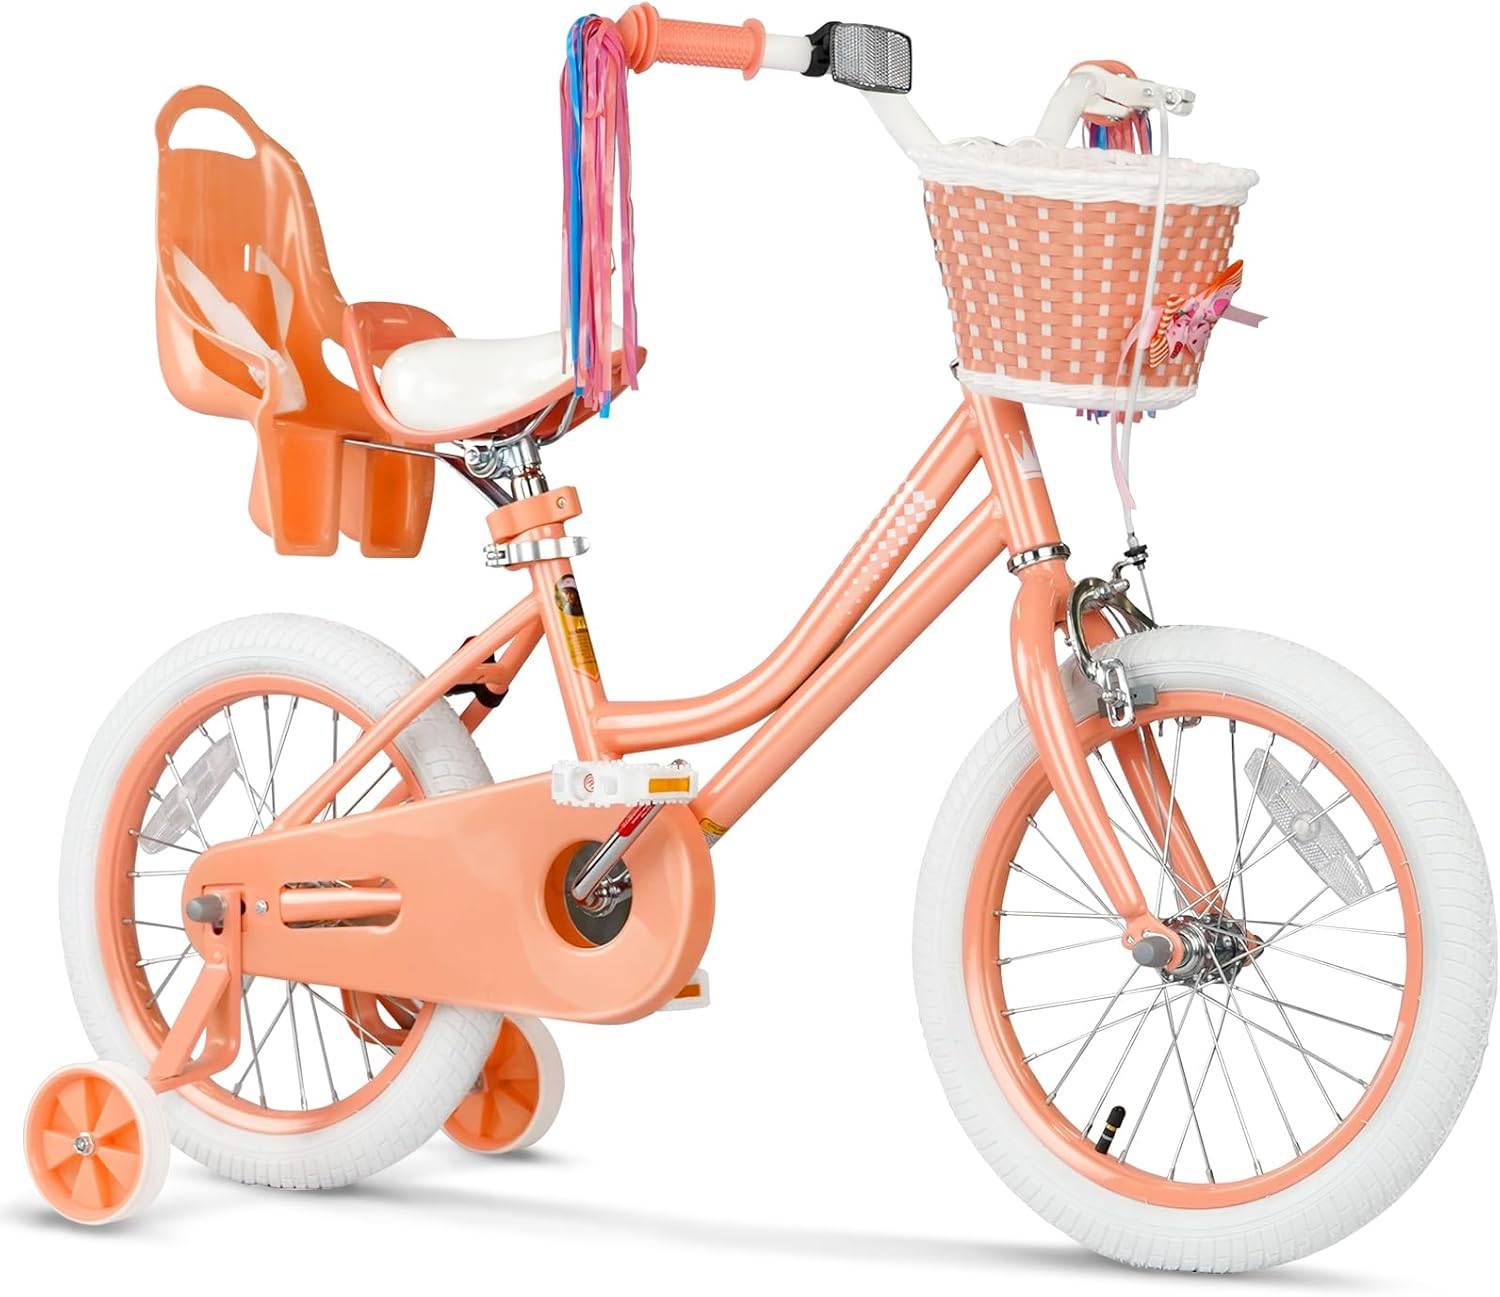 XJD Girls Bike Peach
A Training Wheel Bike with supplied 12 Inch, 14 Inch and 16 Inch SKU labels, making XJD Girls Bike Peach relevant for comparing those three wheel-size starting points before an individual fit check.
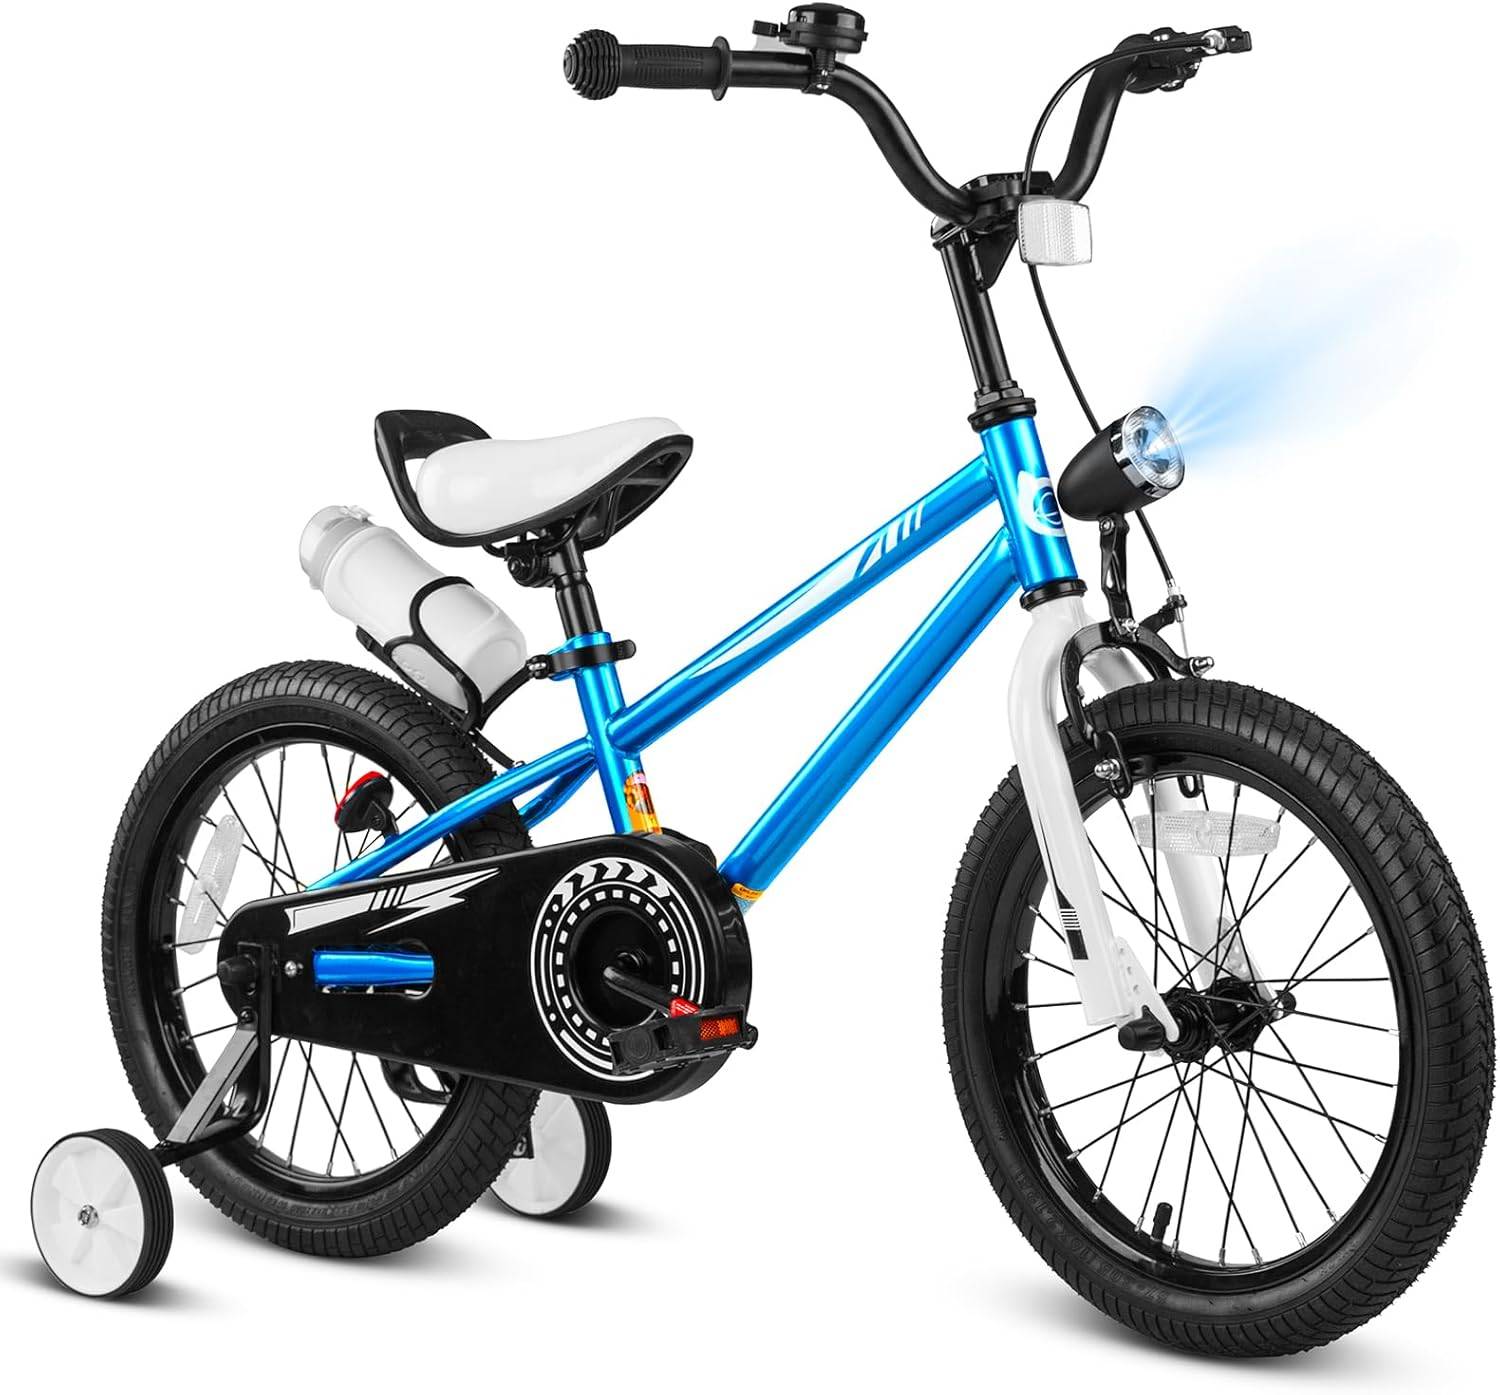 XJD Boys Bike Blue
XJD Boys Bike Blue is a Training Wheel Bike offered in supplied 12 Inch, 14 Inch and 16 Inch SKU labels; measured height, inseam, reach, brake control and confidence must still confirm fit.
For either product, use 12 Inch as a starting point at 34–40 in / 86–102 cm, 14 Inch at 37–45 in / 94–114 cm, and 16 Inch at 40–48 in / 102–122 cm. Where those ranges overlap, compare actual stand-over, reach, brake access and confidence.
Neither supplied product has an 18 Inch, 20 Inch, 24 Inch or 26 Inch SKU label. If the child’s measurement points to one of those sizes, these products are smaller-wheel comparison points only, not equal substitutes for the indicated size.
Make the final size decision
Choose only after the child’s measured height matches the starting range and an actual fit check confirms comfortable stand-over, natural reach, usable brake controls and calm starting and stopping. Then fit a bicycle helmet so it sits level and secure, with straps adjusted according to the helmet manufacturer’s instructions. If any fit checkpoint fails, pause the purchase and compare another size rather than expecting the child to adapt to an oversized bike.
Recommended products
-
XJD Beach Cruiser Bike with U-Brake – Pink
XJD Beach Cruiser Bike with U-Brake – Pink brings the recorded fit, riding and c…
Beach Cruiser Bikes Training Wheels No Single Speed 24 Inch -
XJD Beach Cruiser Bike with U-Brake – Purple, 24-Inch
XJD Beach Cruiser Bike with U-Brake – Purple, 24-Inch brings the recorded fit, r…
Beach Cruiser Bikes Training Wheels No Single Speed -
Save 20%
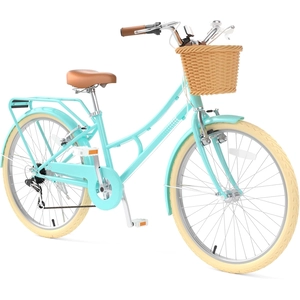
XJD Beach Cruiser Bike with U-Brake – Green, 24-Inch
XJD Beach Cruiser Bike with U-Brake – Green, 24-Inch brings the recorded fit, ri…
Beach Cruiser Bikes Training Wheels No Single Speed Green / 24 Inch -
Save 15%
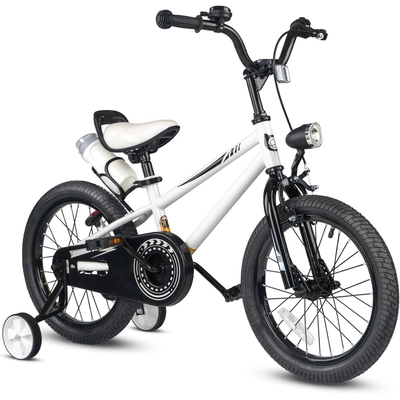
XJD Boys & Grils Bike white
XJD Boys & Grils Bike white brings the recorded fit, riding and configuratio…
Training Wheel Bikes Training Wheels Yes 16 Inch