How to Tell If a Kids Bike Is Too Big: 7 Fit Checks
How to tell if a kids bike is too big starts with what the child can actually do. A rider who struggles to mount, stretches for the handlebar, cannot reach the brakes or needs an adult to hold the bicycle at every stop may be on a bike that is too large or incorrectly adjusted. Do not rely on wheel size or age alone.
This guide uses fresh height and inseam measurements, the current XJD wheel-size standard and a practical control test. The same checks also separate a genuinely oversized bike from a suitable bike that only needs an allowed saddle or handlebar adjustment.
Start with a kids bike size chart
| Wheel size | Age reference | Rider height | How to use the row |
|---|---|---|---|
| 12 inch | 3–4 | 34–40 in / 86–102 cm | Compare for a small first pedal bike; confirm the child can reach the ground and controls. |
| 14 inch | 3–6 | 37–45 in / 94–114 cm | Useful when 12 inches feels cramped but 16 inches is difficult to mount. |
| 16 inch | 4–7 | 40–48 in / 102–122 cm | Check brake reach, stand-over room and confident low-speed turns. |
| 18 inch | 5–9 | 43–52 in / 109–132 cm | A transition size; availability and frame dimensions vary by model. |
| 20 inch | 7–12 | 48–60 in / 122–152 cm | Compare riding style and controls as well as size because configurations vary widely. |
| 24 inch | 10–14 | 54–64 in / 137–163 cm | Check the complete frame fit before moving a growing rider up. |
| 26 inch | Youth and adult | Over 60 in / 153+ cm | Treat as an adult-style fit decision, not an automatic next step. |
Age is only a reference. If age and height point to different rows, start with height, then use inseam, reach and control to decide. Do not buy the larger row simply to create more years of use. A bike that is hard to control today can slow learning and make stopping less predictable.
How to measure height and inseam
- Have the child stand naturally against a wall without bulky shoes.
- Measure from the floor to the top of the head for current height.
- For inseam, place a firm, thin book between the legs with gentle upward contact, keeping it level.
- Measure from the floor to the top edge of the book and record the result.
- Repeat both measurements once. Use the smaller reliable result if the readings differ.
The site-wide chart deliberately says to check product fit rather than publishing one universal inseam number. Minimum saddle height, frame shape and tire volume differ between bicycles. Compare the measured inseam with the exact product guidance, then verify that the child can mount and stop in the position recommended for that model.
Use wheel size to create a shortlist
Wheel size describes the approximate wheel diameter, not the total height of the bicycle and not the frame size. It is helpful because children’s bikes are commonly organized around 12-, 14-, 16-, 20- and 24-inch wheels. It does not tell you handlebar reach, saddle range or how easy the brake lever is for a small hand.
For example, the XJD Blue BMX Bike with Training Wheels currently groups 12-, 14- and 16-inch choices on one product page. That lets a family compare three stages without assuming the same physical bike fits every rider. The training-wheel configuration and single-speed drivetrain also make it a different learning tool from a larger youth bicycle.
At the other end of the chart, the XJD Mint Green Beach Cruiser lists 20-, 24- and 26-inch options with a geared drivetrain and no training wheels. A rider considering it should already be able to manage the selected frame, brakes and extra gear control. The XJD Blue 20-Inch Freestyle BMX Bike is also a 20-inch choice, but its single-speed BMX format shows why equal wheel diameters do not mean equal fit or purpose.
Five fit checks that matter more than the label
- Mounting: the child gets on and off without the bike falling away.
- Reach: shoulders remain relaxed and elbows are not locked while holding the grips.
- Braking: the rider reaches and operates the braking controls from the normal hand position.
- Starting: the child can place a pedal, push away and settle onto the saddle without a hard adult launch.
- Stopping: the rider brakes at a marker and puts a foot down in control.
Make these checks on a level, traffic-free surface with an adult beside the rider. If the bicycle only works after pushing the saddle or handlebar outside its marked limits, it is not the right size.
What to do when a child is between sizes
Compare both candidates rather than rounding up automatically. The smaller bike may offer easier starts and turns; the larger bike may provide more room but demand greater reach and strength. Ask which one supports a calm stop, not which one looks more grown-up. Riding experience matters too: a confident rider may handle a new control system sooner than a child still learning to pedal and look ahead at the same time.
Recheck the measurement after a growth spurt and when the saddle approaches its adjustment limit. Signs that a bike may be getting small include a cramped knee position, excessive saddle extension, crowded reach or unstable steering caused by an awkward posture. Confirm any adjustment with the manufacturer’s instructions.
Final too-big bike checklist
When deciding how to tell if a kids bike is too big, use the chart only to shortlist sizes. Height, inseam, mounting, reach, braking and the intended route decide whether the bicycle works. Confirm the live product option, assemble it according to the manual and begin with a short supervised ride. A bicycle the child can control now is better than one selected mainly for future growth.
Recommended products
-
Save 15%
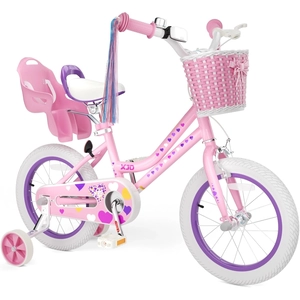
XJD Girls Bike with Training Wheels & Basket – Light Pink
XJD Girls Bike with Training Wheels & Basket – Light Pink brings the recorde…
Training Wheel Bikes Training Wheels Yes Geared 14 Inch -
Save 13%
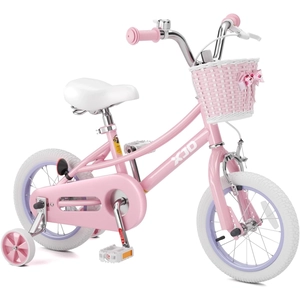
XJD Girls Bike with Training Wheels & Basket – Pink
XJD Girls Bike with Training Wheels & Basket – Pink brings the recorded fit,…
Training Wheel Bikes Training Wheels Yes Single Speed 12 Inch -
Save 16%
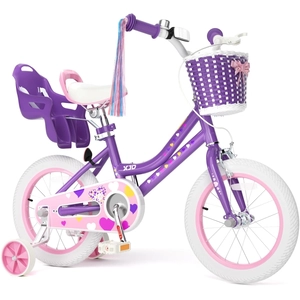
XJD Girls Bike with Training Wheels & Basket – Light Purple
XJD Girls Bike with Training Wheels & Basket – Light Purple brings the recor…
Training Wheel Bikes Training Wheels Yes Single Speed 12 Inch -
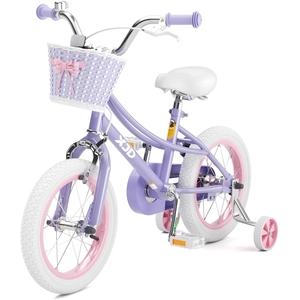
XJD Girls Bike with Training Wheels & Basket – Purple
XJD Girls Bike with Training Wheels & Basket – Purple brings the recorded fi…
Training Wheel Bikes Training Wheels Yes Single Speed 14 Inch