When to Remove Training Wheels: A Step-by-Step Readiness Plan
Training wheels are useful when they help a child practice pedaling, steering and braking, but removing them should follow readiness rather than a birthday. The right moment arrives when the rider can look ahead, keep a steady line, start with limited help and stop on command. A correctly sized bike makes every one of those skills easier to observe.
The XJD Blue BMX Bike with Training Wheels and XJD Black BMX Bike with Training Wheels currently list 12-, 14- and 16-inch options. The XJD Pink Bike with Training Wheels and Basket lists 12-, 14-, 16- and 20-inch options. Those ranges make measurement essential: choose the configuration the child controls now, then confirm the live option before ordering.
Five signs the rider may be ready
- The child pedals smoothly without repeatedly looking at their feet.
- They steer around a wide curve instead of turning suddenly.
- They use the bike’s brakes and stop at a chosen marker.
- They keep the bike mostly upright rather than leaning heavily on one stabilizer.
- They want to practice two-wheel balance and can follow instructions calmly.
Not every sign must be perfect, but the rider should show a pattern of control. If one training wheel carries the child through every turn, more balance practice is needed.
Check the bike fit before changing hardware
Measure height and inseam and set the saddle within the manufacturer’s limits. The rider should reach the handlebar without locked elbows and operate the stopping controls without stretching. An oversized bike can make a child appear unready even when their balance skill is developing well.
Inspect tires, wheels, chain guard, pedals, brakes and fasteners. Remove or adjust training wheels only according to the instructions for that exact model. Do not improvise brackets or leave loose hardware attached.
Session 1: practice balance without pressure
Choose a flat, paved, traffic-free area. With the saddle set for controlled starts and stops, let the child walk or glide the bike for short distances. An adult can support the child near the torso or saddle, but avoid steering the handlebar for them. The rider needs to feel small corrections.
Use a correctly fitted helmet and keep each attempt short. Finish after a successful stop rather than waiting for frustration.
Session 2: launch from a stable position
Teach a repeatable start: one foot on a raised pedal, eyes ahead, a firm first push and the second foot finding its pedal. Practice starts separately from long rides. If the child needs an adult to push hard every time, return to gliding and balance work.
Session 3: connect start, straight line and stop
Mark a short lane. Ask the rider to start, pedal in a straight line and stop before the end. Add distance only when the child completes all three actions calmly. This teaches control more effectively than chasing the bike while it travels farther than the child can stop.
Session 4: add wide turns
Use widely spaced markers and have the child look through the turn. Encourage gentle steering and level pedals where appropriate. Practice both directions. A rider who can turn only one way may need more sessions before using a path with obstacles.
If the transition does not work yet
Reinstall the training wheels as instructed or return to supported balance practice. Waiting is not failure. Check whether the bike is too large, the practice area is intimidating or sessions are too long. A few calm attempts across several days usually teach more than one exhausting afternoon.
Before the first independent ride
- Confirm brakes, tires, steering and fasteners are working correctly.
- Fit the helmet level and snug.
- Use a route separated from traffic, slopes and water.
- Keep adult supervision close until stops and turns are dependable.
Remove training wheels when the rider and the bike are ready together. Fit, patient practice and reliable stopping are better milestones than age alone.
Recommended products
-
Save 20%
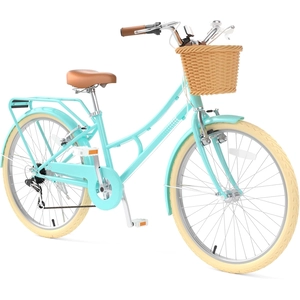
XJD Beach Cruiser Bike with U-Brake – Green, 24-Inch
XJD Beach Cruiser Bike with U-Brake – Green, 24-Inch brings the recorded fit, ri…
Beach Cruiser Bikes Training Wheels No Single Speed Green / 24 Inch -
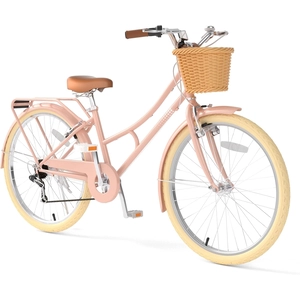
XJD Beach Cruiser Bike with U-Brake – Pink
XJD Beach Cruiser Bike with U-Brake – Pink brings the recorded fit, riding and c…
Beach Cruiser Bikes Training Wheels No Single Speed 24 Inch -
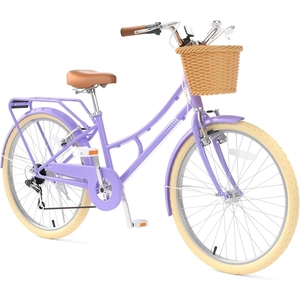
XJD Beach Cruiser Bike with U-Brake – Purple, 24-Inch
XJD Beach Cruiser Bike with U-Brake – Purple, 24-Inch brings the recorded fit, r…
Beach Cruiser Bikes Training Wheels No Single Speed -
Save 15%
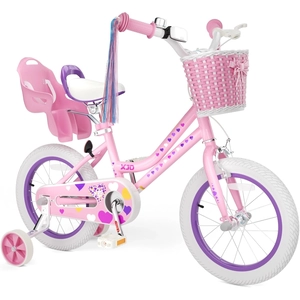
XJD Girls Bike with Training Wheels & Basket – Light Pink
XJD Girls Bike with Training Wheels & Basket – Light Pink brings the recorde…
Training Wheel Bikes Training Wheels Yes Geared 14 Inch