How to Read Bike Tire Size: A Parent’s Kids Bike Guide
Read a bike tire size on the tire’s sidewall, then match both the wheel diameter and tire width—not just the child’s age or the large size printed on the bike.
Find the complete size on the tire
Rotate the wheel slowly and inspect both sidewalls. Look for a molded or printed marking such as 20 × 1.75 or an ISO-style pair such as 47-406. Clean off dirt if needed, but do not rely on a faint marking you cannot read confidently.
In an inch-format marking, the first number usually names the wheel-size family and the second describes tire width. In an ISO marking, the first number is the approximate tire width in millimetres and the second is the bead-seat diameter: the diameter where the tire fits the rim. The ISO pair is especially useful because traditional inch labels can describe incompatible rims.
Copy every number, separator and letter exactly. Check the other sidewall if part of the label is worn away. If no dependable marking remains, take the wheel or old tire to a qualified bicycle mechanic.
What to measure before buying a replacement
Start with the existing sidewall rather than measuring the tire’s outside diameter. An inflated tire’s overall diameter varies with tread and width, so a ruler measurement across the outside can misidentify the rim.
- Record the current tire marking: Include both inch and ISO formats when both appear.
- Check the rim: Look for a size marking on the rim and compare its bead-seat diameter with the tire’s ISO diameter.
- Note the installed width: A wider replacement needs adequate clearance around the frame, fork, brakes and any fenders.
- Compare the intended use: Replace like with like unless the bicycle or tire documentation confirms another size is compatible.
Do not estimate rim compatibility from the child’s height or from the bike’s nominal wheel label. For approved widths, inflation, installation direction and assembly details, follow the exact bicycle and tire manuals or consult a qualified bicycle mechanic.
Separate tire size from child fit
A tire marking identifies a component; it does not prove that the bicycle fits its rider. Measure the child’s standing height and inseam, then have the child try the complete bicycle. Check stand-over room, comfortable reach, reliable brake control and whether the child can start, steer and stop with their current confidence.
| Wheel size | XJD starting point |
|---|---|
| 12 Inch | Ages 3–4; 34–40 in / 86–102 cm |
| 14 Inch | Ages 3–6; 37–45 in / 94–114 cm |
| 16 Inch | Ages 4–7; 40–48 in / 102–122 cm |
| 18 Inch | Ages 5–9; 43–52 in / 109–132 cm |
| 20 Inch | Ages 7–12; 48–60 in / 122–152 cm |
| 24 Inch | Ages 10–14; 54–64 in / 137–163 cm |
| 26 Inch | Youth and adults over 60 in / 153 cm |
These are starting points, not fit guarantees. Prioritize measured height, inseam, reach, brake control and confidence over age. Have the child try the bicycle, and do not choose an oversized bike merely to allow room for growth.
How the catalog option helps with comparison
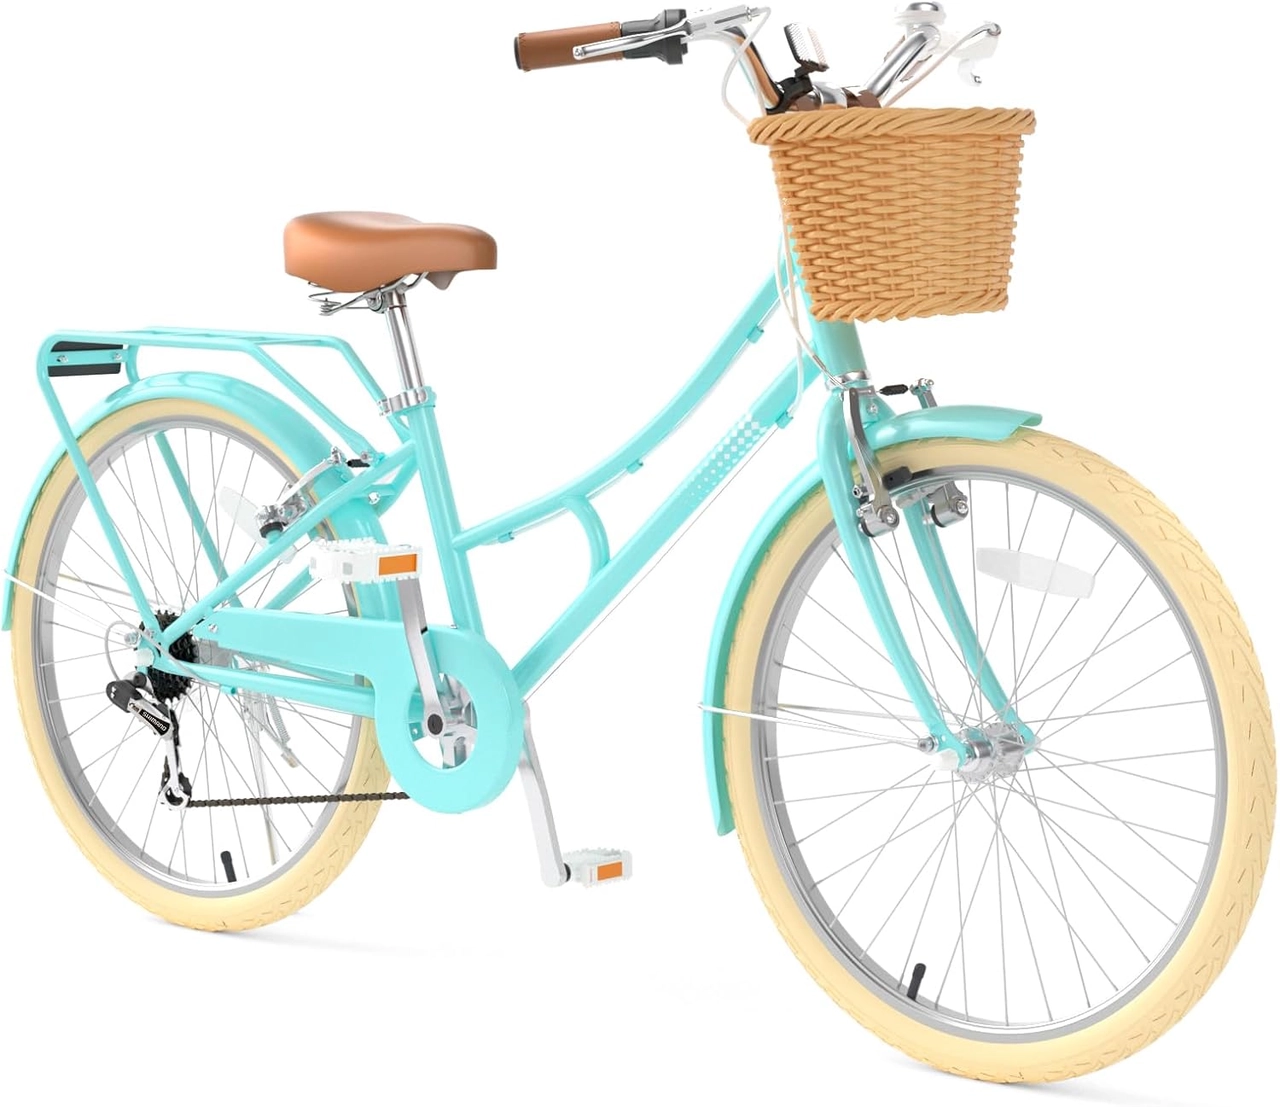
The XJD Beach Cruiser Bike with U-Brake – Green, 24-Inch provides a concrete 24-inch comparison point. Its supplied options are Green / 24 Inch, Pink / 24 Inch and Pink / 26 Inch. Those labels help you compare nominal wheel-size families after reading the tire, but they do not provide tire width, ISO diameter or proof of fit. Confirm those details on the actual sidewall and manual.
This catalog option is relevant when the rider and individual fit check point toward a 24-inch or 26-inch bicycle. It is not a substitute for any smaller size, and the 24-inch and 26-inch labels are not interchangeable. Compare the rider with the XJD starting points, then verify stand-over, reach and brake operation on the complete bicycle.
A quick decision check
- If replacing a tire, match the ISO bead-seat diameter exactly and confirm an acceptable width.
- If choosing a bike, use wheel size only as a starting point and complete an individual fit check.
- If markings conflict, clearance is uncertain or the manual does not confirm compatibility, stop and ask a qualified bicycle mechanic.
Before the next ride, also fit the child with a bicycle helmet that sits level and uses its straps according to the helmet manufacturer’s instructions. Your next step is simple: photograph the full sidewall code, record the child’s height and inseam, and compare those facts separately before ordering either a tire or a bicycle.
Recommended products
-
Save 12%
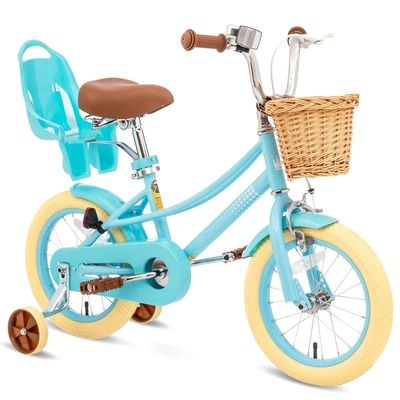
XJD Kids Bike Blue
XJD Kids Bike Blue brings the recorded fit, riding and configuration details tog…
Training Wheel Bikes Training Wheels Yes 16 Inch -
Save 12%
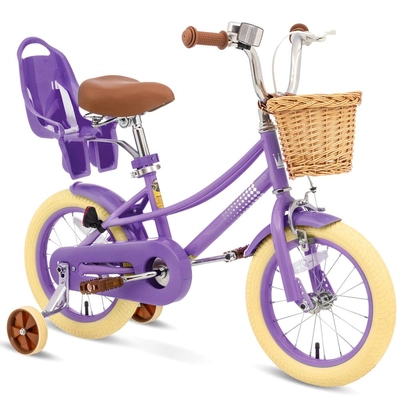
XJD Kids Bike Purple
XJD Kids Bike Purple brings the recorded fit, riding and configuration details t…
Training Wheel Bikes Training Wheels Yes 16 Inch -
Save 12%
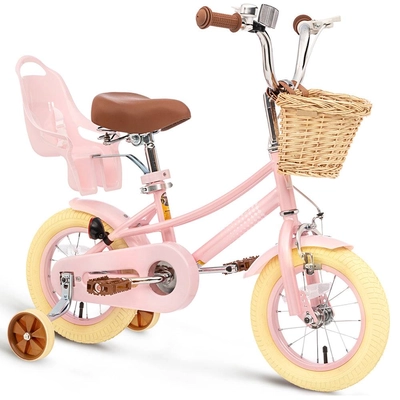
XJD Kids Bike Pink
XJD Kids Bike Pink brings the recorded fit, riding and configuration details tog…
Training Wheel Bikes Training Wheels Yes 20 Inch